
Set Review ➟ LEGO® 60508 City Powered Up Police Train Heist

Dialing up the silly all the way, LEGO introduces the Police Train Heist set for ages 7+. I will now endeavor to at least partially quantify the silly, which is undoubtedly appropriate for seven-year-olds.
1. According to the internet, the last known robbery of a moving train occurred in 1937 and the first production helicopter arrived in 1942. So a helicopter being used to steal anything from a moving train happened never, thus providing the irrefutable thematic foundation for the set.
2. Everybody knows that local police departments:
- operate trains
- have vast amounts of wealth
- …which exists in the form of gold ingots, large gold trophies1, cut gems, and sacks2…you know, currencies easy to spend
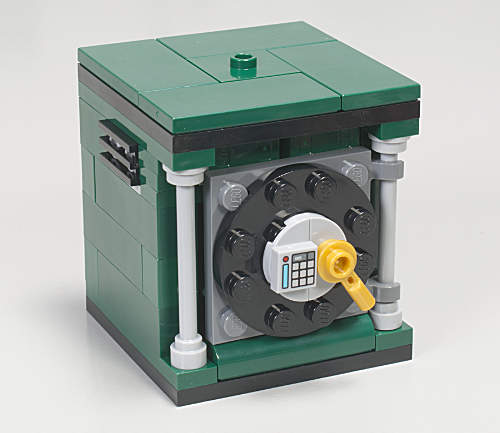
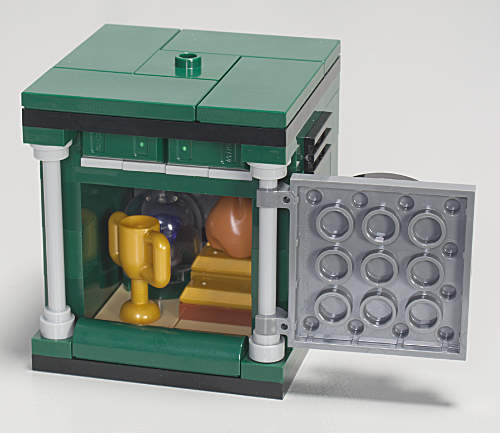
- 1 which they won, no doubt, from their equally well funded sister service, the fire department, in either the softball or bowling tournament
- 2 I actually believe that a sack is counted amongst a police department’s precious resources
- …which needs to be transported somewhere3 because reasons
- 3 that somewhere being round-and-round on an oval track
- would choose to place a safe on an open flatcar because that is both covert and secure
- would include a jail car on the same train as the safe because both the (alleged) criminal in the jail car and the secure are headed to the same destination…and face it, what could possibly go wrong
- would not provide armed guards on the train because while they have a safe full of gold they cannot afford the overtime
3. Why would anybody provide a gated rail crossing into a closed oval track? I mean, sure, okay, the gate for safety, but what are you going to do once you get in the oval except leave, which brings up the point of why would you go there to begin with.
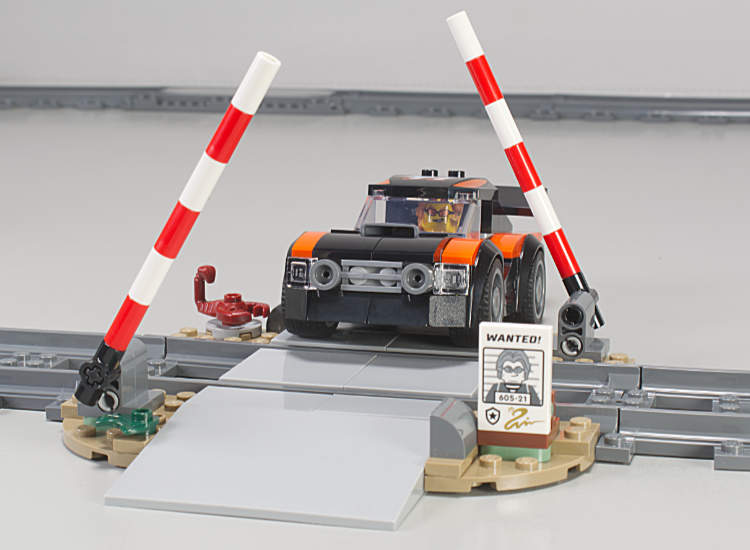
Oh, oh! Maybe it is to facilitate the criminal’s escape once the helicopter removes the sports car from the flatbed and places the car inside the oval track where it would have to wait for the train to pass and the gates to lift before being able to escape the confines of the oval.
4. Of course, if you were going to rob a train, you would choose a police train, undoubtedly easy picking because of budget cuts, and you would want to try to steal the loot from a moving train using a grapple on a helicopter because what could possibly be easier, more cost efficient, or less dangerous.
5. So, you’re a crook and a pilot who either owns or can afford to rent a helicopter, and you wake up one morning and decide that robbing a train is the thing you need to do today or you won’t be able to sleep tonight?
6. The presumed getaway car has space for only a driver and no passenger, so when the accomplice is broken out of the jail car he has to walk wherever he is going?
Some Observations
This isn’t the first time I have seen this in a build, but I wonder just what is the point of putting some windows in the build and then immediately behind them insert a solid wall. The helicopter makes use of this design strategy, placing a panel half behind the side windows. Presumably a figure or something could have been placed in there and seen through the windows, but, now, no.
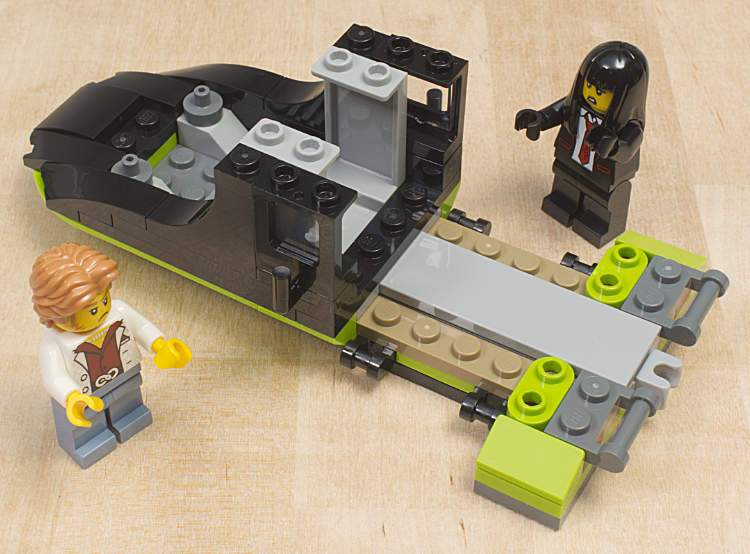
The helicopter cockpit accommodates two minifigures.

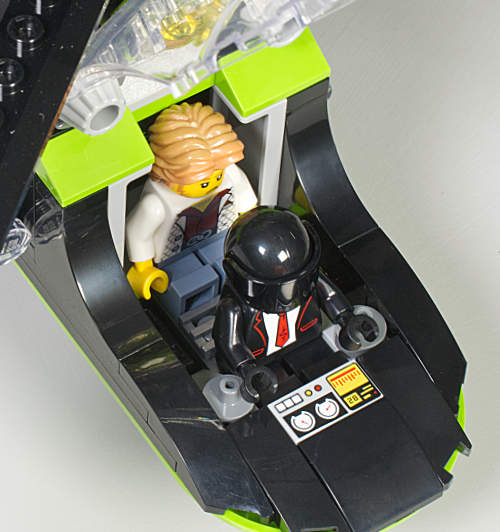
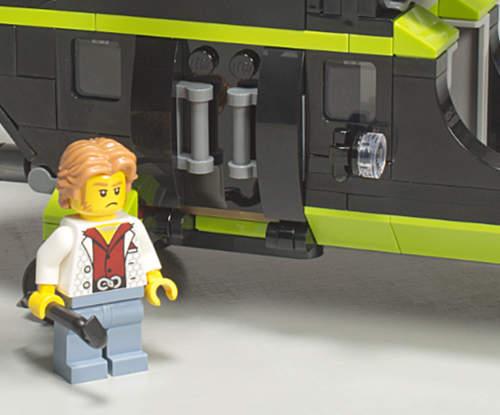
There is a door on either side of the helicopter which opens onto a space for cargo. The safe does not fit inside. I guess you need to build something with your spare bricks to go in there. While the welding gear can be attached to a stud, there is no accommodation for the pilot’s helmet or hair piece.
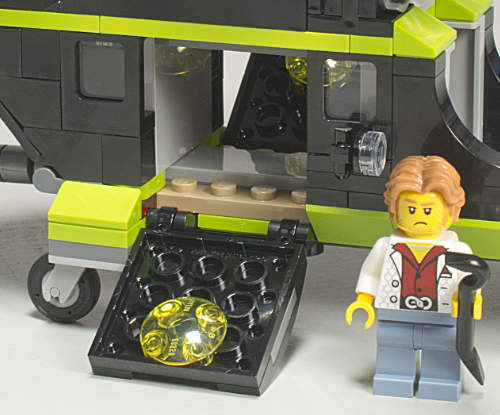
There is also a tail door on the helicopter, but you pretty much need to remove the grapple to use it, and there’s precious little useable space inside.
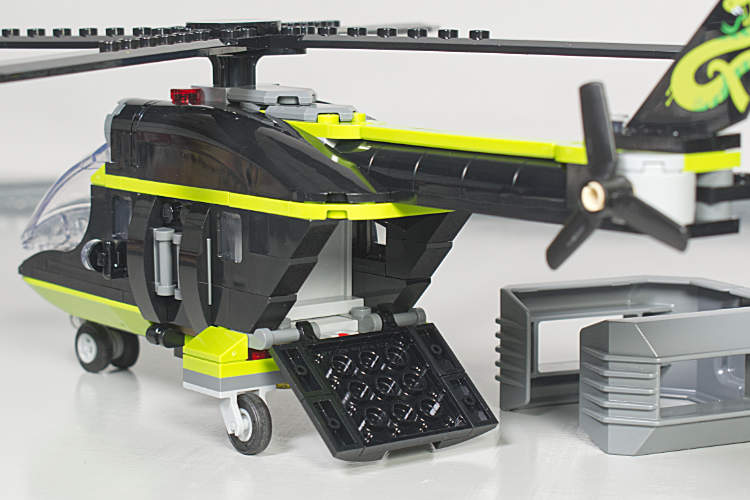
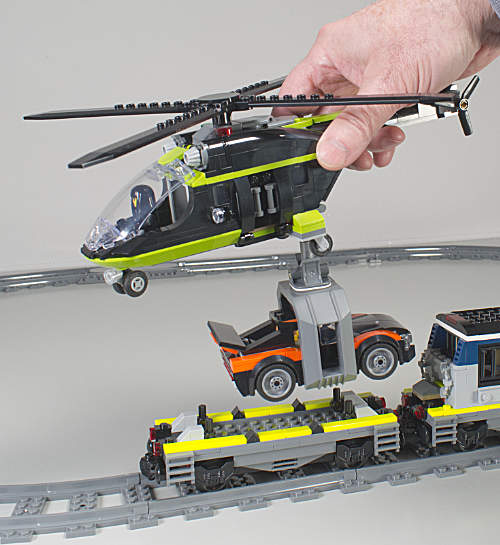
While the grapple on the helicopter is ridiculously large, it also does a ridiculously good job of picking up both the safe and the car off the train. Just push the helicopter down; the jaws open then grab.
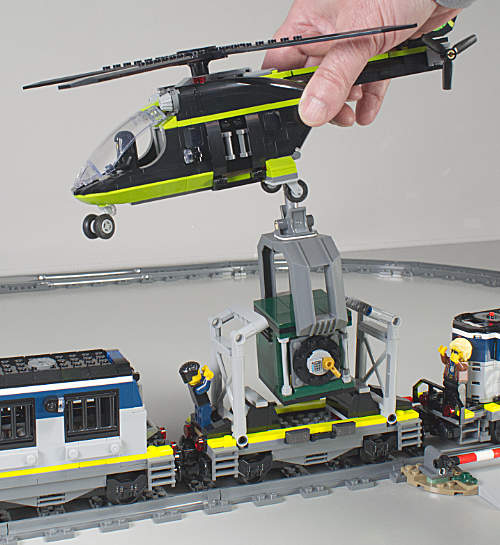
The tried-and-true lever mechanism to pop out walls makes an appearance on the jail car.
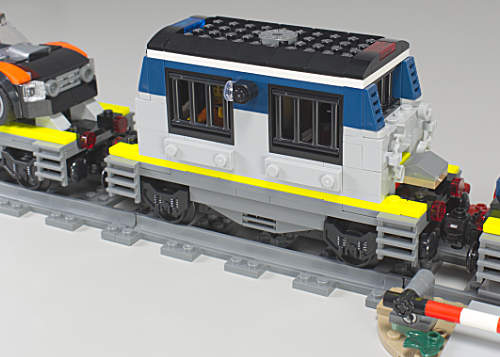
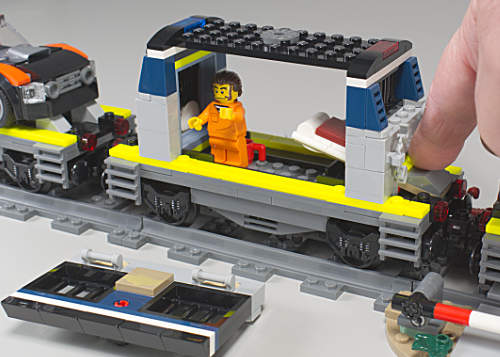
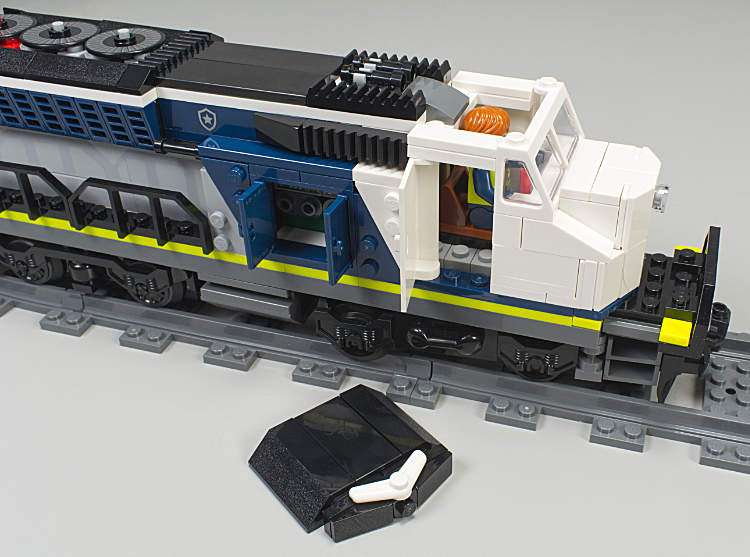
The engine has doors on either side that open but serve no practical purpose. The minifigure engineer will need to be inserted via the removable cab roof.
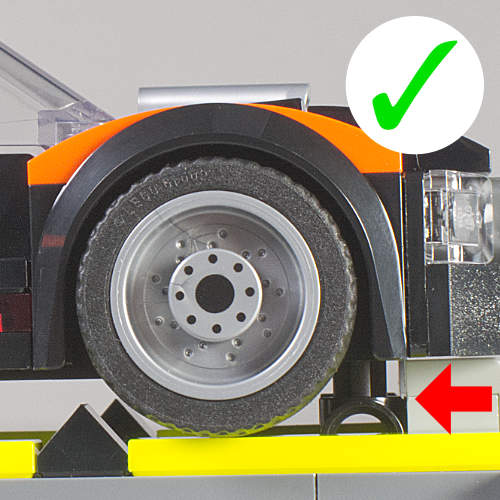
Unlike so many other previous instances of a vehicle being carried on a flatbed where the vehicle is attached by a brick or merely set in place between some slopes, the flatcar that carries the sports car has some vertically oriented axles that slip into recesses on the underside of the sports car’s carriage…made possible by a new car chassis piece. This clever assembly strategy allows the helicopter to grab and remove the sports car easily. A fixed stud attachment to the vehicle would prove problematic for the vehicle to be removed and might lift the train car as well. Simply placing the vehicle between slopes would not provide enough stability for the vehicle to remain motionless while the helicopter clamp moves over the vehicle.
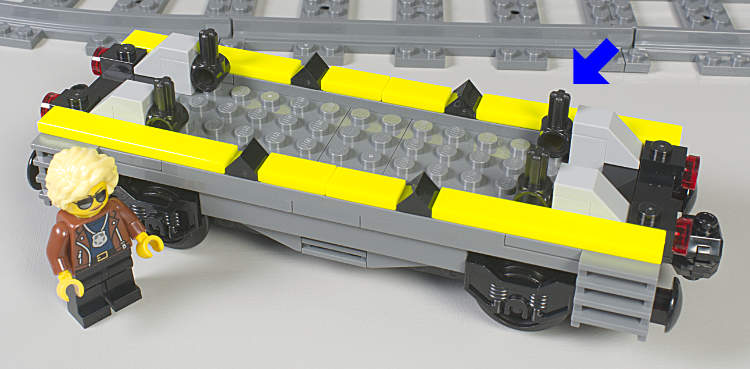
Axles as pins at four corners of flatbed…
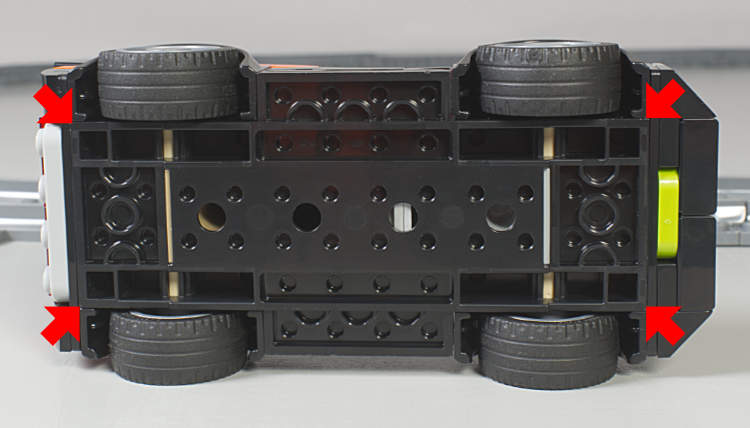
…fit into recesses in new chassis
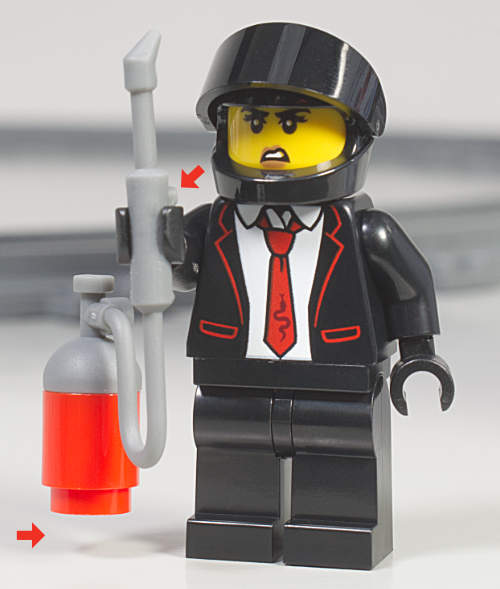
There is a little nub on the stem of the torch which limits hand placement, makes for a canister that floats in the air, and I guess, forces left-hand usage.
Powered Up
The set includes the Powered Up remote, hub, and train motor. The motor connects to the hub via a cable. Four AAA batteries are required by the remote and six by the hub. Unfortunately both the hub and remote require screwdrivers to get into the respective battery boxes. In my case I thought I could get away with a single Philips screwdriver for the operation. Wrong. While the Philips was suitable for the hub the same driver would not move the screw on the remote and I ended up using a flat driver there. Fortunately the screws are trapped in the plastic of the battery doors so they don’t fall out and become lost.
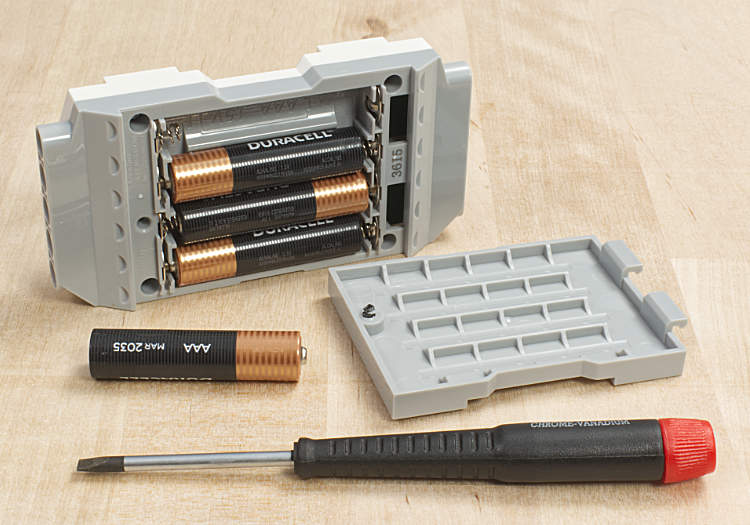
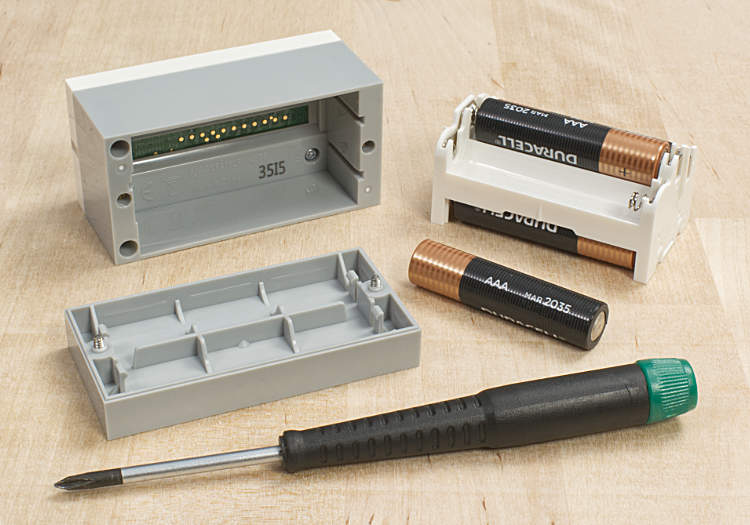
I say unfortunate because it is a pain in the butt and what’s the reason a simple clip on/off or slide on/off mechanism…you know…like the ones that used to be found on these type battery compartments…isn’t used? Maybe it has something to do with government regulations and the four pages of disclaimers found at the back of the last book of instructions. A guess.
With only pictures in the instruction book, true understanding of the potential complexity and features of the Powered Up system is not conveyed. The motor can be plugged into either an A or B socket on the hub, and then the corresponding A or B buttons on the hub will control the motor. Finding the right sequence of button pushing on both the remote and the hub requires some trial and error, there is an amount of flashing lights, and flashing at different speeds, which indicate different things going on. When both the remote and the hub display the same color light, the remote is connected. There are five different connection colors: red, blue, pink, green, and yellow, plus a white color that indicates there is power.
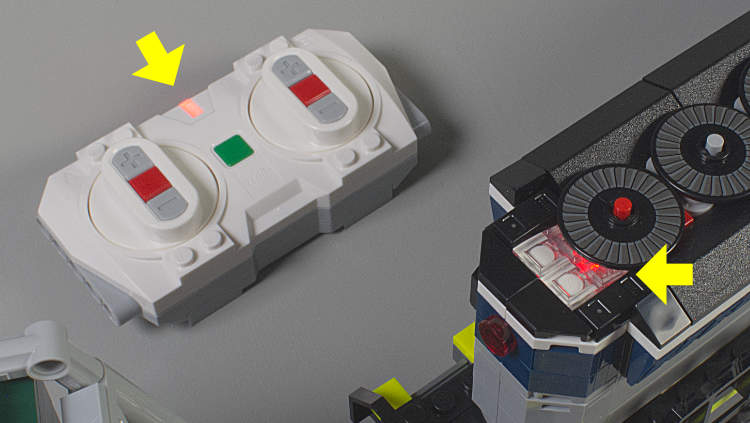
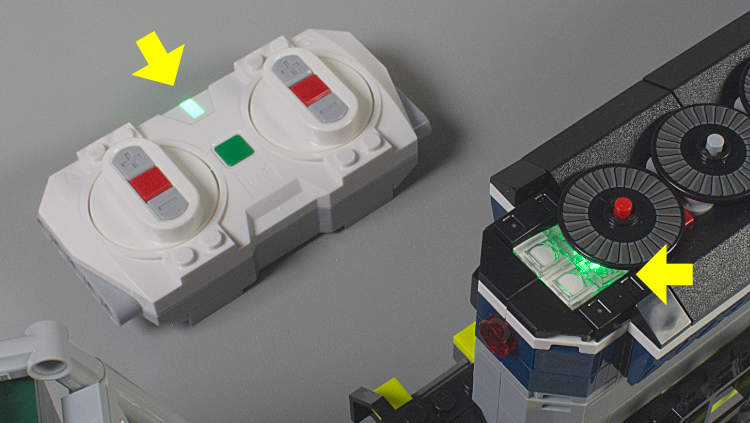
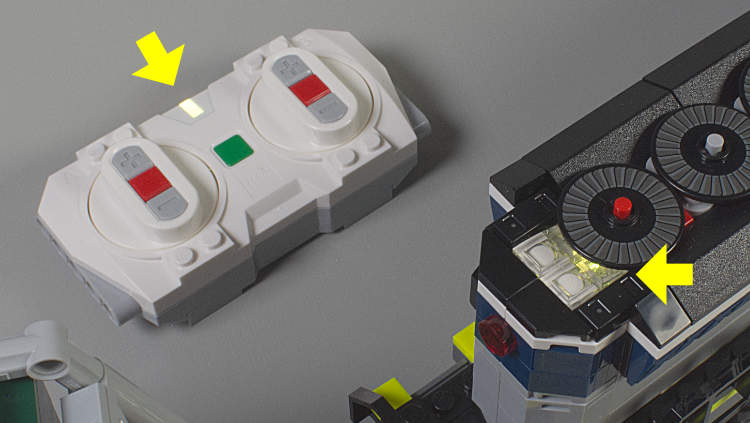
What all the complexity suggests is that a single remote could potentially control five different hubs. The only indication of any potential instructions is a logo on the box suggesting you download the free app. The box doesn’t indicate where to find or onto what device you download the free app though and you are on your own to sort that out. Am I to conclude that, to get the full experience, whatever it is, I now need a computer or a smart phone? Downloading the free app just leads to a rabbit hole of pain, not useful instructions.
Trial and error can get you to where the train is controlled by the remote, but it is a bit disconcerting with white blinking lights on one box, then the other, and waiting and wondering what is happening. Then there is the issue of having to power on both the remote and the hub, but only having to power off the remote and wait for the hub to power itself off; this is not necessarily intuitive. This, of course, is probably not a problem for seven year olds.
As far as I have been able to determine there is no official LEGO instruction manual or other documentation regarding the Powered Up remote and hub. If you want to gain more understanding of those elements it looks like you are going to have to rely on third party sources.
Minifigures
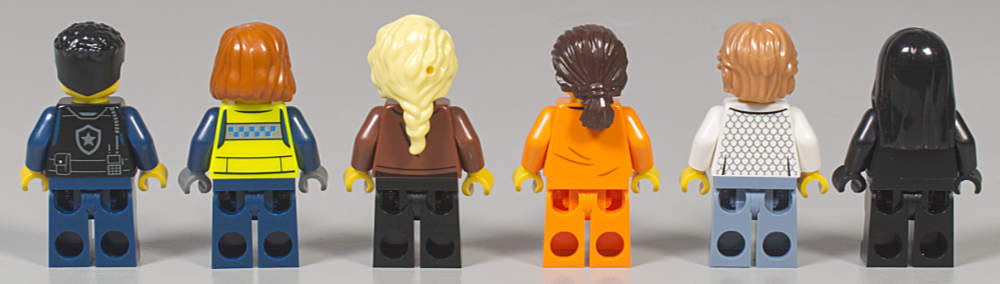
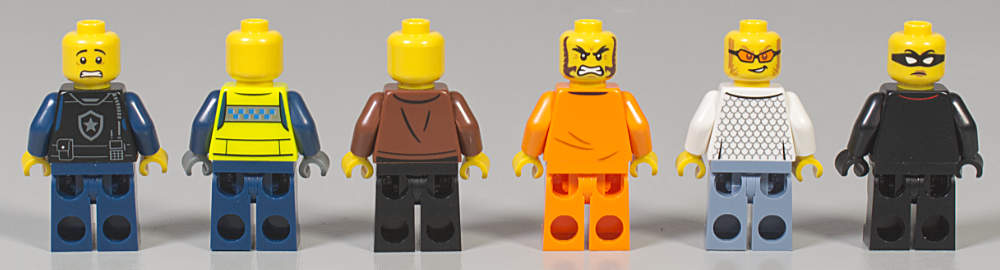
Minifigures in the set are not named on the box. For purposes here I will call them Cop, Engineer, Detective, Con, Driver, and Pilot. Cop, Engineer, and Detective make use of previously existing prints on 3626 heads. Con, Driver, and Pilot have new prints on 3274 heads. Detective, Driver, and Pilot have new torso prints.
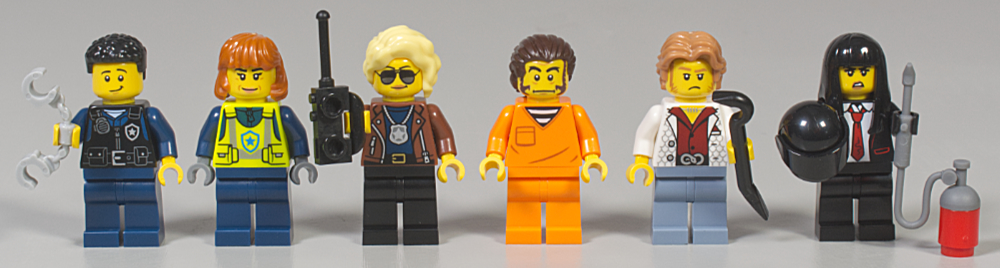
Left to right: Cop, Engineer, Detective, Con, Driver, Pilot
The Randolph T. Fielding Absolutely Administrivia Section
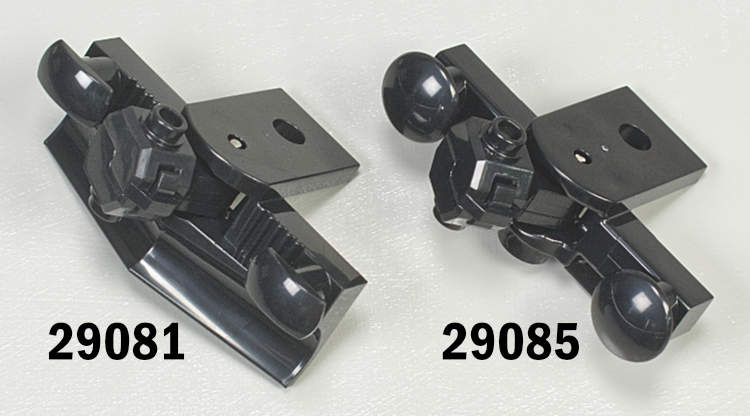
The set is supposed to come with six 29085 buffers and two 29081 buffers with plow, my set had seven 29805s and one 29081. That made no difference in any practical sense as the train works fine with the substitute buffer. I did come across a complaint from another AFOL who was having clutch problems with the plow noting that it would fall off. Mine did not fall off, but I will note that none of the buffers “snap” tightly to the underlying studs, instead they sort of firmly glide on and glide off.
The set contains new parts used in the car, 5801 vehicle base and 5584 transparent red 2x4 plates. Too bad the plates get lost in the build.
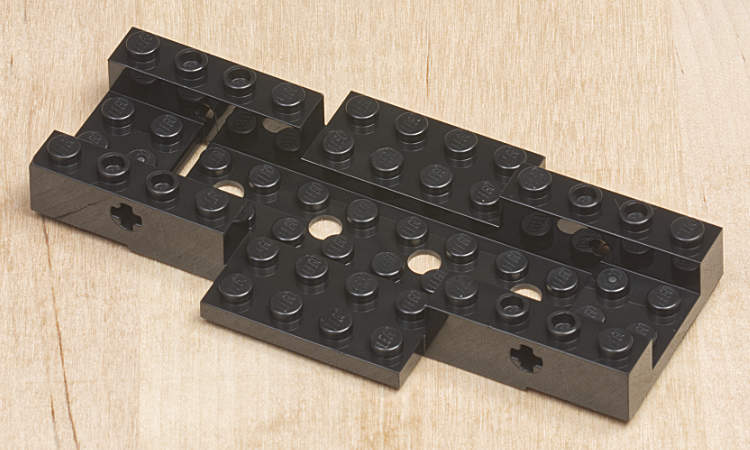
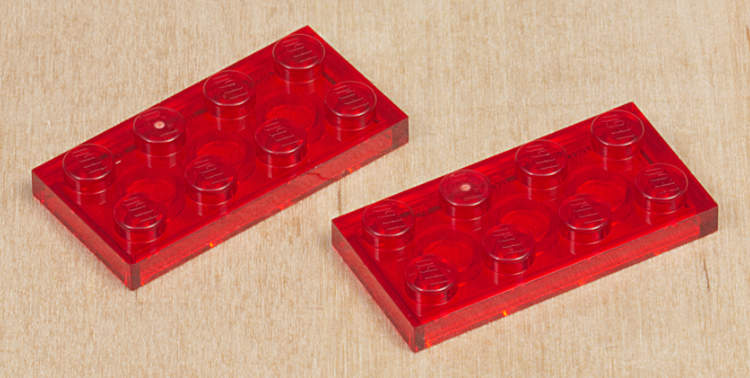
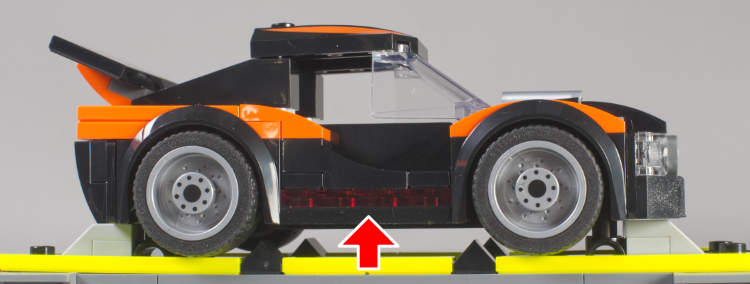
Yep, there’s the trans red plate. You can barely see it.
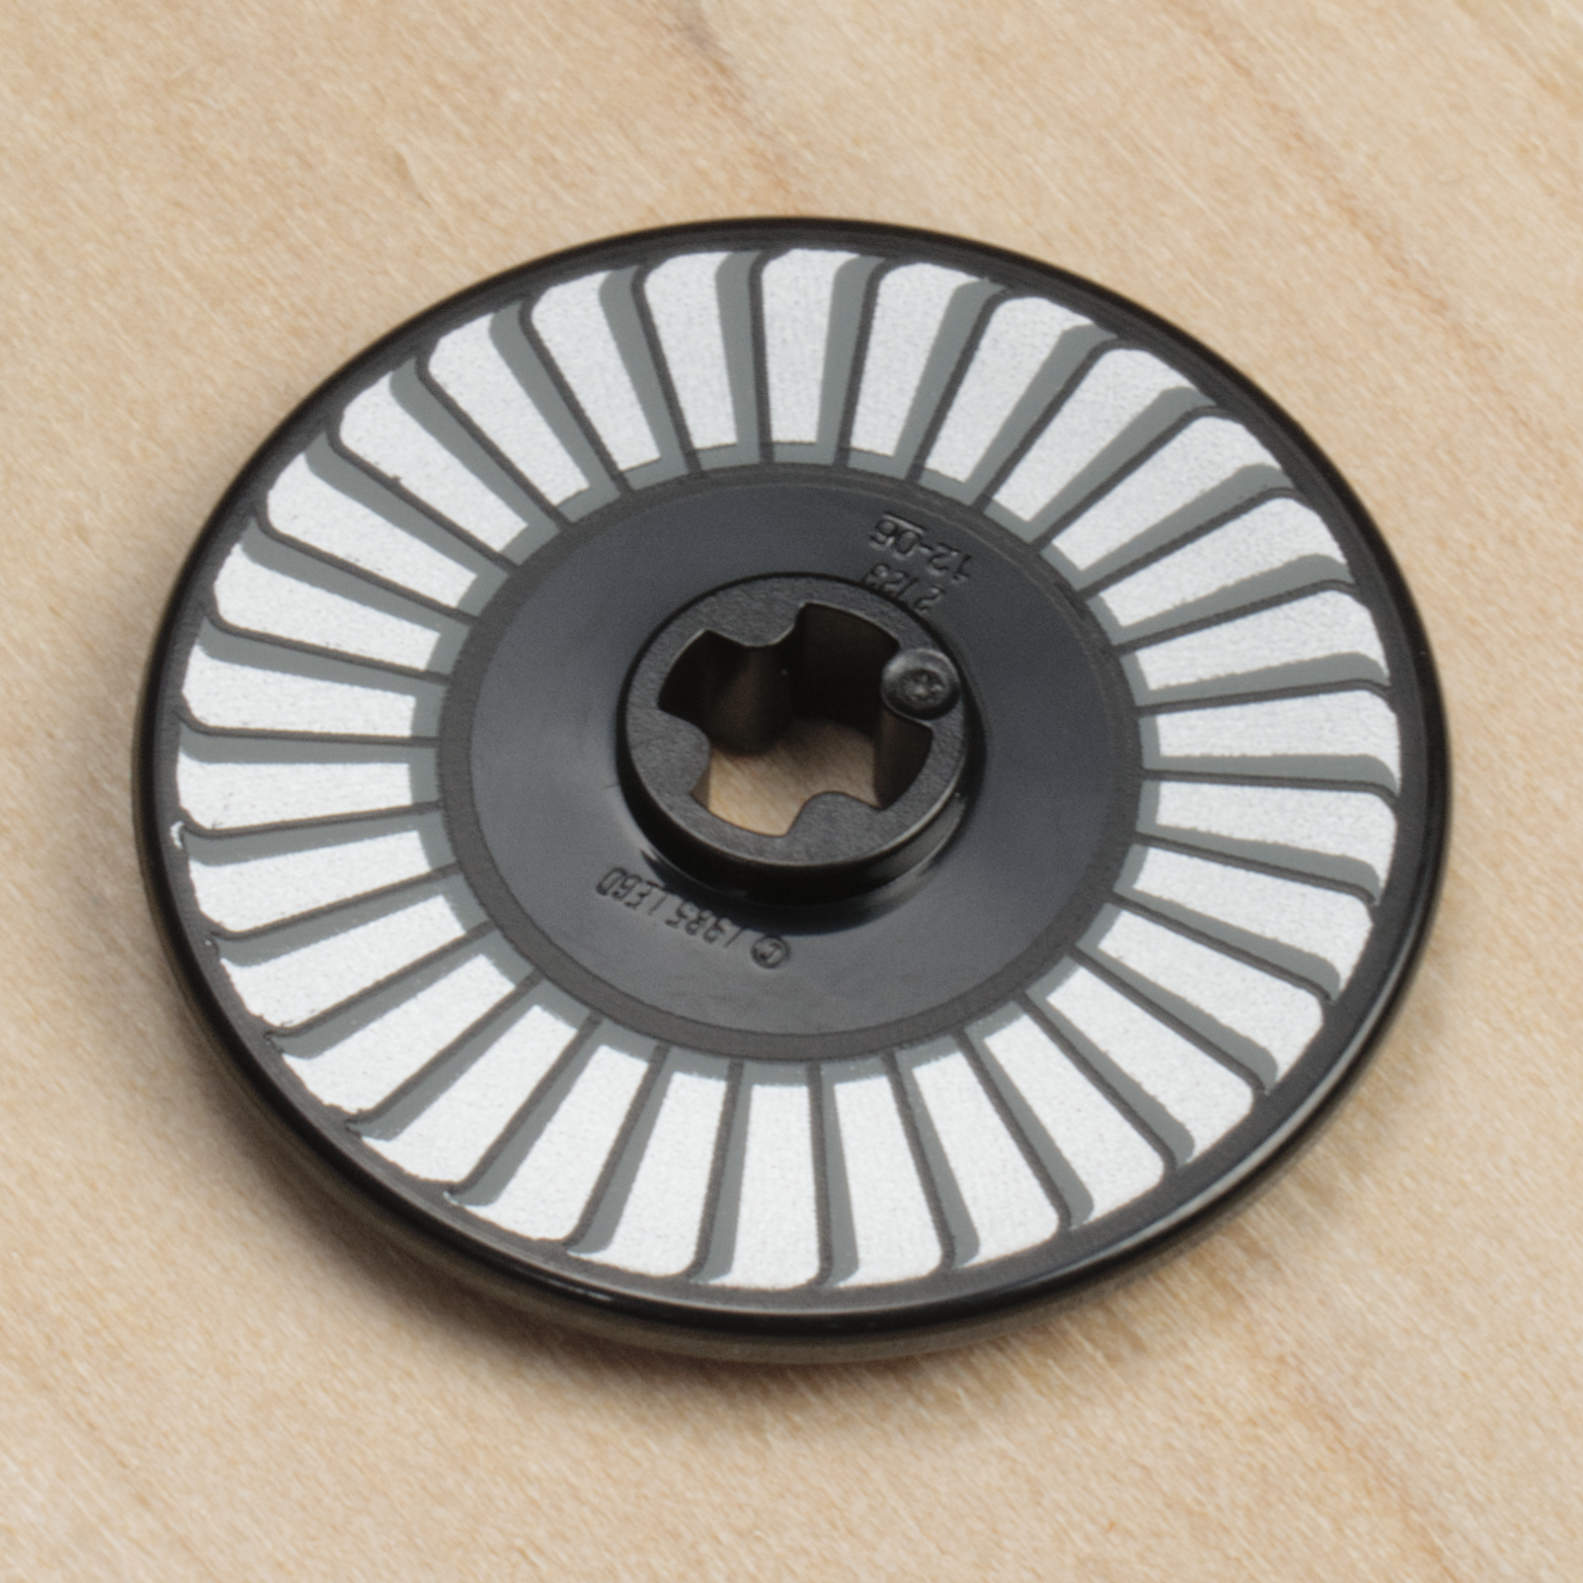
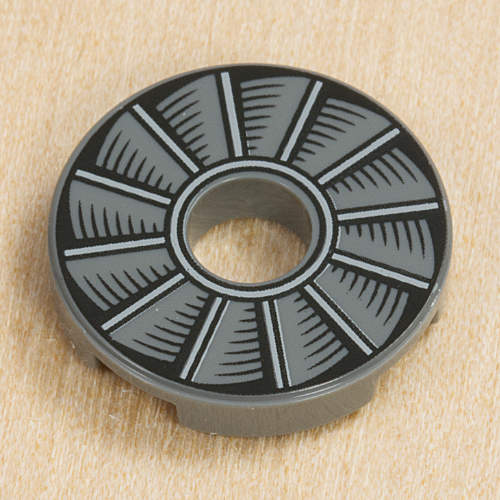
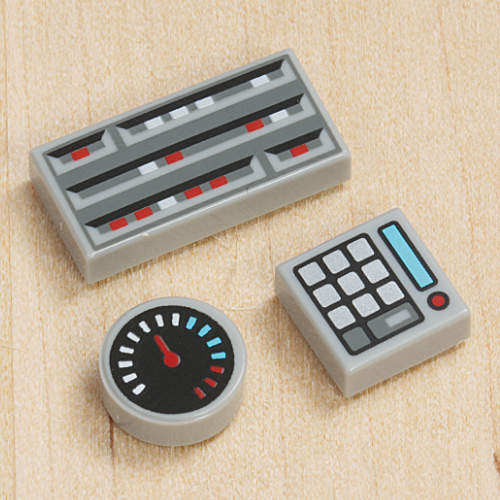
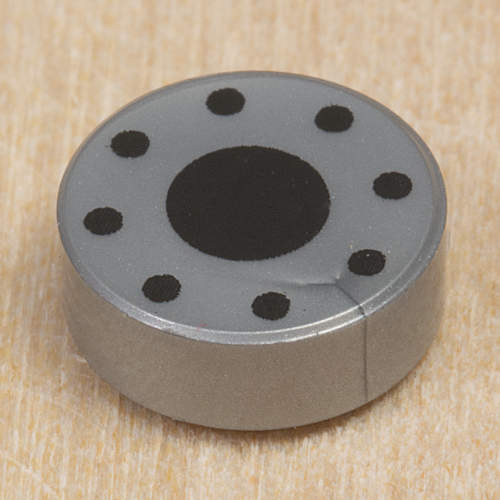
Old parts, new decorations
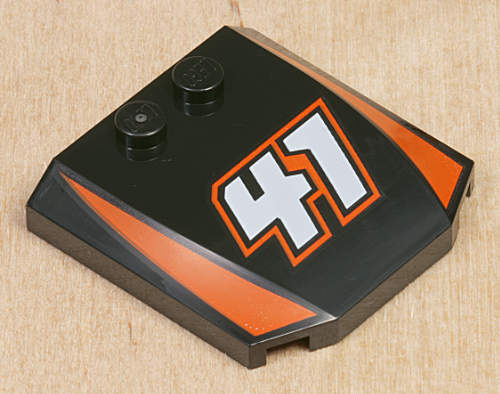
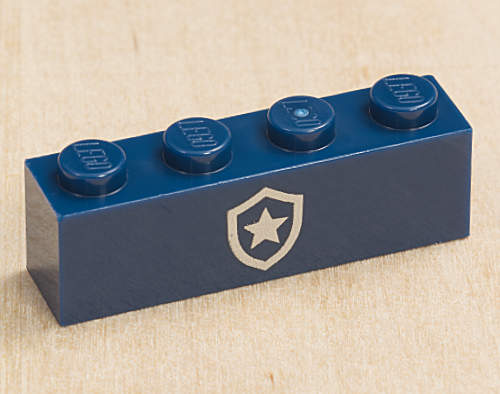


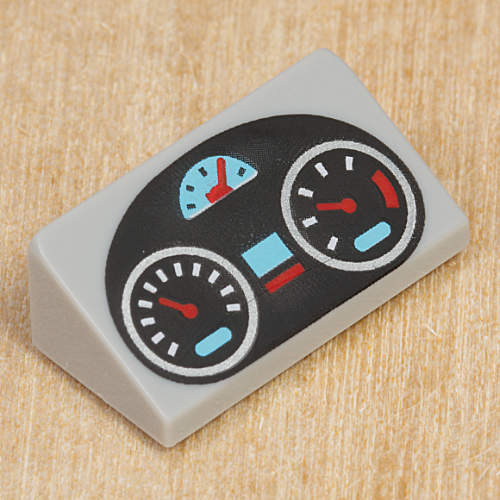
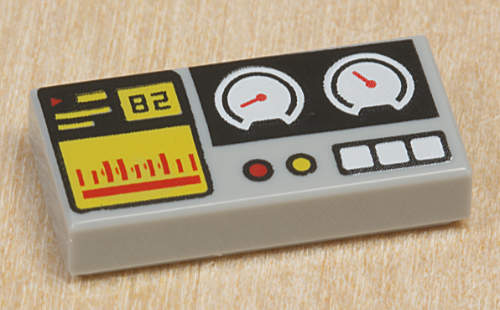
Other printed parts
Summary
To get the most out of the set you need to drop another five to ten clams for 10 AA batteries on top of the $200/€200 for the set. In the US add another $14 or so for sales tax. I’m guessing $70€ of that 200 is for the remote and hub (the power functions separately on lego.com are $77€). So the total price for this set is right in the neighborhood of an Apple Watch. A seven-year-old would probably want the train. And any adult would probably prefer the kid had the train.
Pros are that the set has tremendous play value, it has multiple instruction booklets so it can be assembled cooperatively, and I did not find parts wanting to fall off as is sometimes the case.
Cons are needing a lot of batteries, needing screwdrivers to install batteries, only pictures for explanation of how to work the remote and hub, and at approximately 30x43 inches/76x109 cm it requires a fair amount of real estate on the floor or tabletop. To get the “fuller” experience you need a smartphone or computer, but not a Linux computer, and you can immerse yourself or your kid in screen play and avoid the nasty actual real world play which was probably the point of getting a tactile, tangible toy in the first place. And beware leaving batteries in the boxes as they will certainly corrode and leak and make a mess of the insides if forgotten, and joy to you for having to break out screwdrivers to open and close boxes again and again.
Suggesting the set is for seven-year-olds flat out is a bit of a stretch. The battery boxes require some additional support in terms of batteries, battery orientation, and screwdrivers…and the lack of written or other explanation of how the Powered Up system operates…is a shortcoming, so that age seven should be with the caveat of some adult supervision is highly suggested.
If you think shelling out for the remote function is money well spent, then this is a set well worth acquiring.
Disclaimer
Thanks to LEGO for kindly providing the set for review.
33717