
Review 42229 ? Fast and Furious Mitsubishi Eclipse Car
LEGO sets are more and more about IPs and predominantly (race) cars. This model belongs to the Fast and Furious brand series, the first of which (42111 Dom’s Dodge Charger) we reviewed when it came out in 2020. I suppose 1 car in 2020, 2 in 2025 and another 2 this year does not make it a huge franchise within the LEGO catalogue, but the brand clearly has a strong pull, otherwise we wouldn’t be seeing these sets. I’m not personally a fan of Fast & Furious – I know the concept but haven’t seen any of the movies, and don’t plan to watch any of them as a result of building this car either. I wouldn’t have bought the model if it hadn’t been offered by LEGO for my consideration, but that’s not to say I dislike the model. As a matter of fact, is has several redeeming features that made me enjoy the build. So, let’s get to it: The box
I hate “destroying” boxes. I may end up not saving it, but I cannot bring myself to press the tabs and rip it open. For the last few years, I have opted to carefully pry one side open with the blunt edge of a knife, but this time I decided to go another way and lift up the entire back of the box. This makes sorting the contents easier as well and I can also use the box as a tray to hold loose elements. It used to be a thing among LEGO fans to complain about how boxes were all half empty (or half full, depending on how you look at it). Paper bags take up more space than plastic ones (or at least that’s how it feels to me, but not twice as much and this box is pretty full.
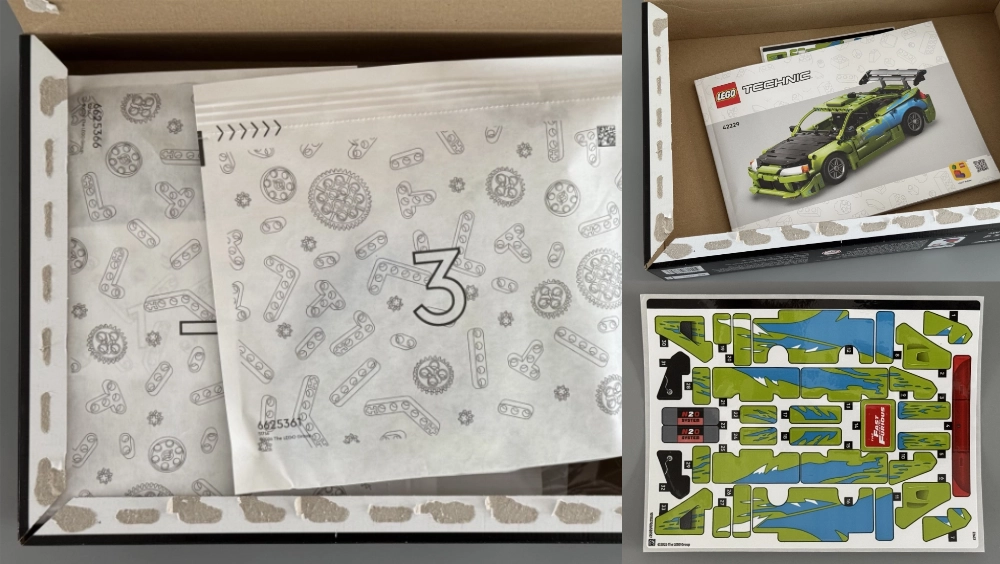
The book keeps the stickers in place Stickers are placed at the bottom of the box, instructions on top, followed by the bags with elements. Having a “full” box has the advantage neither the instruction manual nor the stickers a have much room and should stay in place. Mine were in perfect condition.

Six numbered bags plus a plastic bag with some additional elements: two flexible hoses, a large Technic frame and the four tyres. Building experience I was delighted to see the set is ready to be built as a group or family with up to 3 participants.
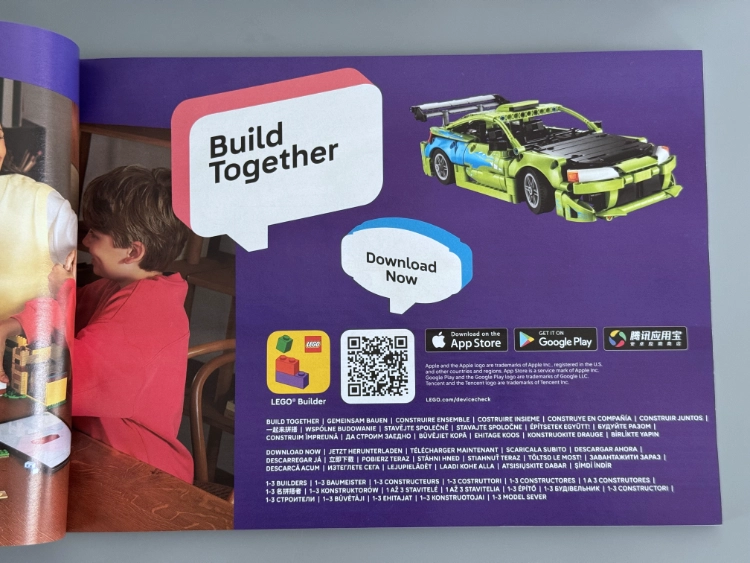
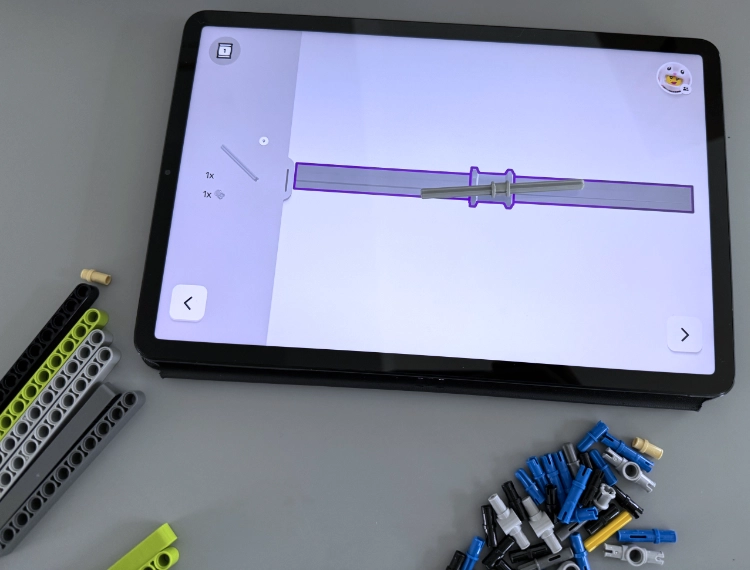
The experience was a bit more disorienting than usual: when you build from the manual you see how the model progresses and have an intuitive idea of what you are building. Using Build Together removes that visual anchor and has you building things you have no clue what they will do. Another slightly confusing effect of using this method is that sometimes you are told to open the next bag before you have finished the current one, even though you still have subassemblies lying around that look like they could be used. There was only one step where the app made no sense. At one time it showed a n almost 2D image of an axle and the location of the bush. In printed instructions this is normally to scale so you can use it to check if the bush is in the right place. In this case, however, the image way much too big and we didn’t find a reliable way to make it the size it needed to be. The app would not scale nicely. We eyeballed it and that was that.
The build itself was not particularly remarkable except for a few outstanding details. Many car models feature rear engines or longitudinal layouts with driveshafts running to the back. This model, however, is front-wheel-driven with a transverse engine—a nice change of pace

After 827 pieces the model is finished:

My favourite part of the car? Well, on the one hand I was delighted to see the transverse engine connected to one of the front wheels, but I also particularly liked the headlights.

I’m not a big fan of pimp my car, or “tuning” as some call it, but the Fast and Furious Mitsubishi Eclipse Car was a fun car to build and has plenty of functions for such a small model: Opening doors, with a stop to make sure they aways fit perfectly in place. The bonnet has a nice stay that you lift and rotate slightly to keep the bonnet up. Underneath the 4-cylinder transverse engine was my favourite mechanism. The hatch also has a strut to keep it from falling and inside are two NOS bottles (nitrous oxide) to give the car an extra boost. The steering wheel is purely cosmetic as the HOG on top of the roof is the only element that connects to the steering front wheels.

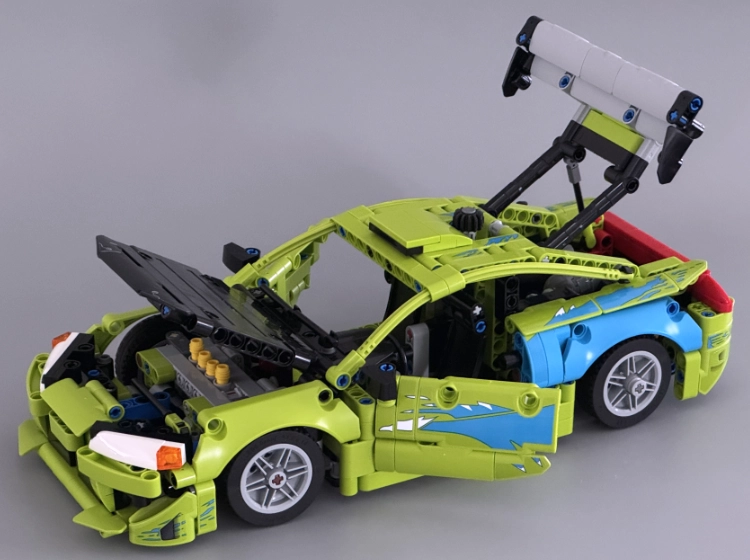
This last image serves to illustrate a personal gripe with stickers, particularly then when and in what order these are applied in the instructions (in this case in the Build Together instructions). If you take a close look at the door, you will see that the stickers are not aligned. The smallest part (under the mirror) was the first to get a sticker. After that the panel and adjacent curved beam got stickers and finally these elements were put together. The result is a staggered sticker pattern. For the rest of the stickers, I decided not to apply them until I had all elements that had a joined pattern in place so I could see where the pattern would match. On the other hand, the colour matching of the sticker colour with the lime element colours is excellent and the blue is also spot on.
Overall, the model gets an 8 out of 10 for building fun and a 9 out of 10 for looks.
We wish to thank the LEGO Group for providing the set for this review. LEGO does not endorse or support the opinions expressed here, which are solely our own.
We would like to thank the LEGO Group for providing this set for review. However, LEGO neither endorses nor supports the opinions expressed here, which are entirely our own.
33739