
Set Review ➟ LEGO® 71861 - The old town
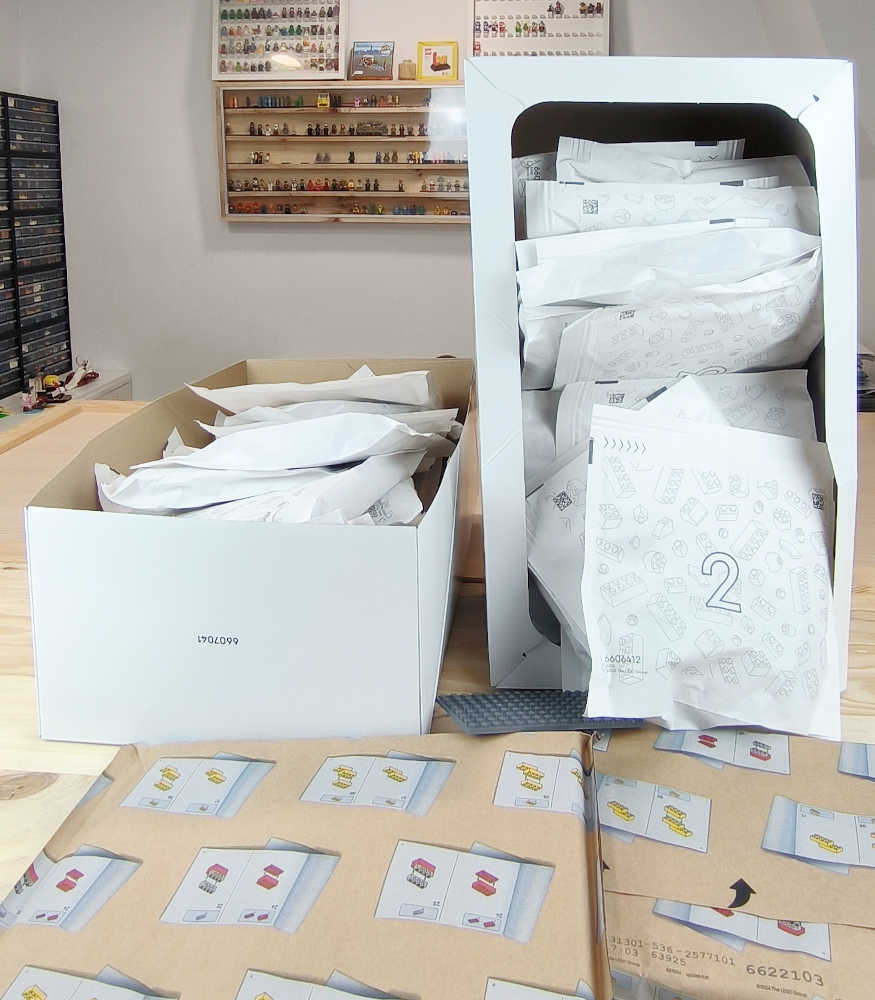
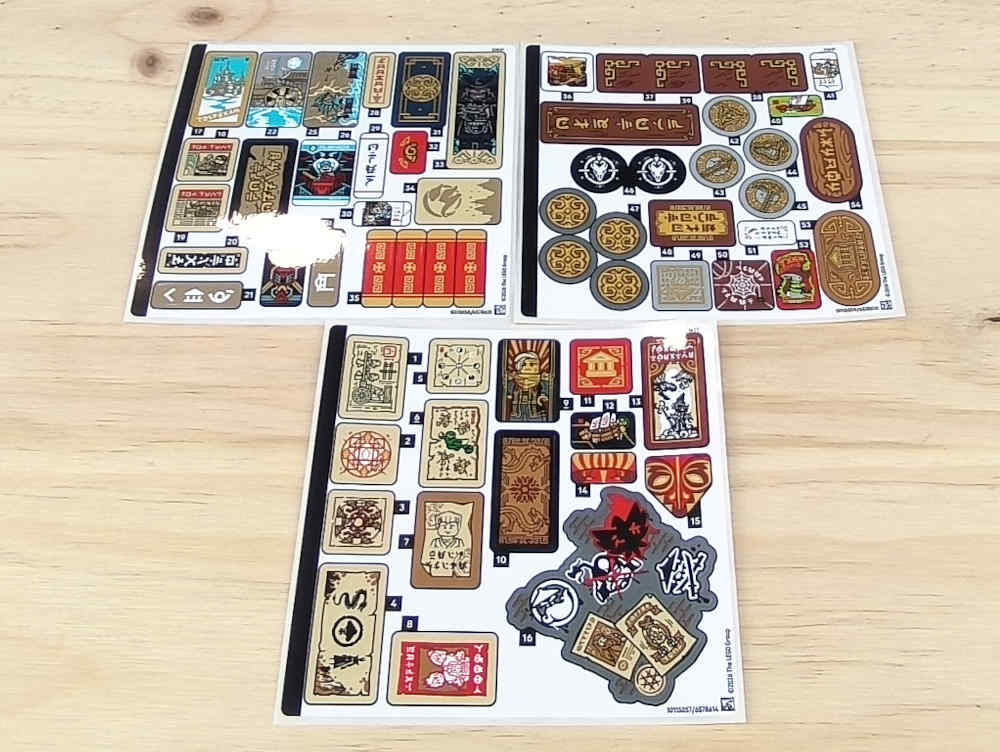
Oh my goodness! Another chunk of a set coming out in January 2026, with no fewer than 4,851 pieces! And 23 minifigures! I still don’t know the price of this marvel, which promises hours of fun for the whole family. Let’s get started. The box is more of a crate, as you can see: inside there is a huge pile of bags, no fewer than 44, some plates and stickers — lots of stickers.


Here come the first minifigures: Master Wu and Mystake.

The build begins in a fun way by creating… a tea cart! We also build a rock altar with a statue on top that looks highly revered. The technique used, with a base incorporating some Technic bricks, is rather lovely.

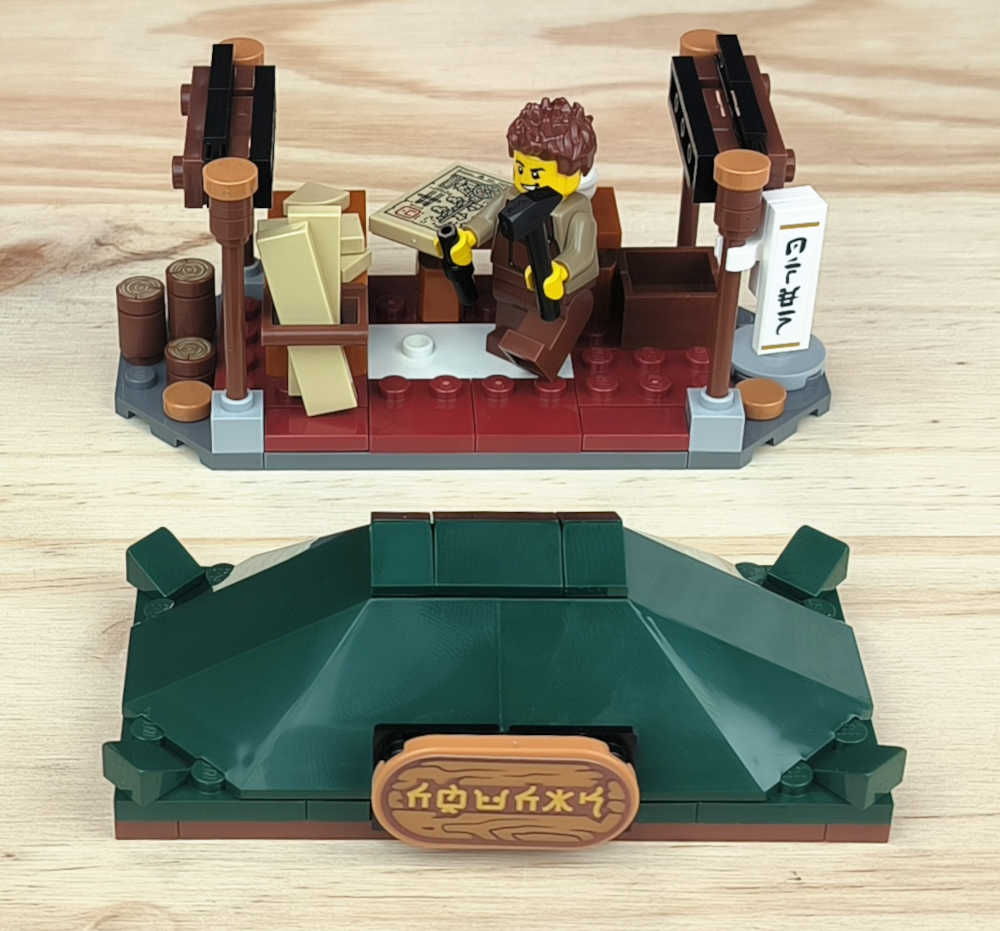
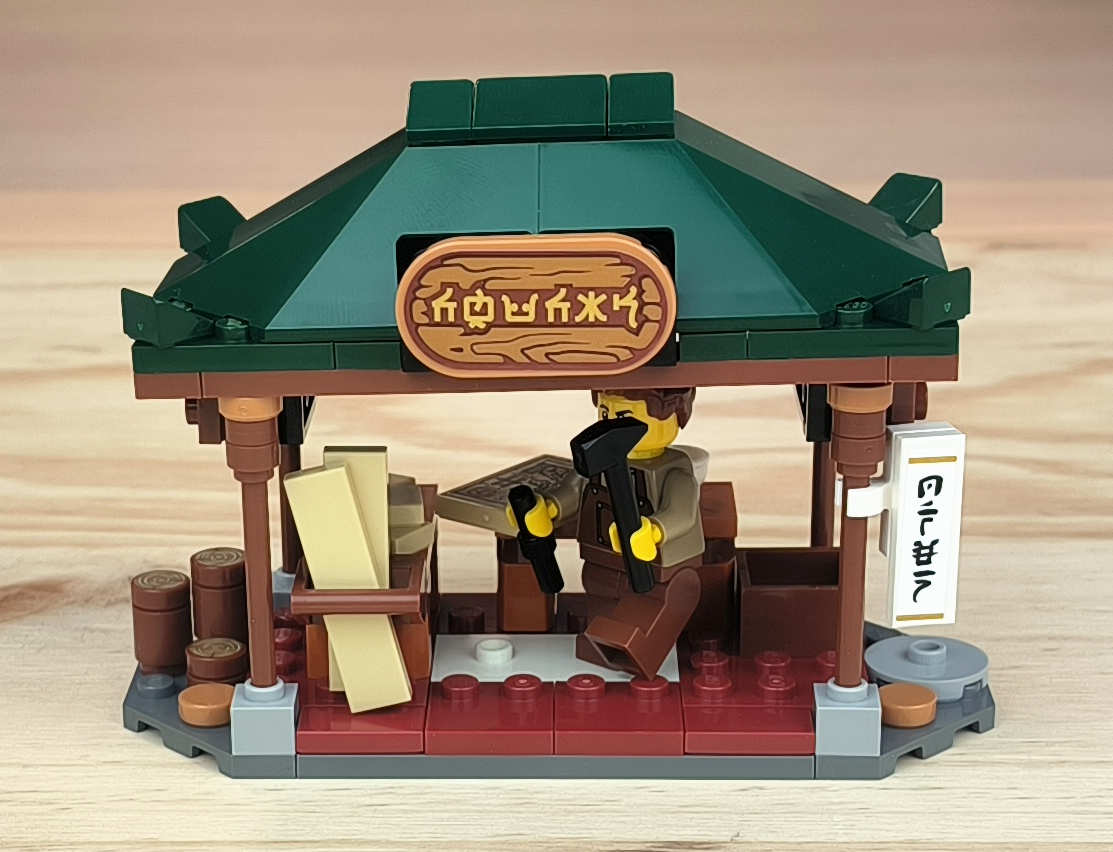
Now we move on to a carpenter’s stall, specifically Chuck’s carpentry workshop. It features some very nice details, with those planks arranged to look scattered about… The roof is simple but very effective. That said, I didn’t quite like the cheese slopes being perfectly straight, so I changed them just a tiny bit. Personal taste and all that…

Kay in warrior mode — such a shame that the scabbard or sheath doesn’t allow his sword to be inserted :(. In this section the wall starts to grow in height. There is an incredible number of details here. The way the wall collapses, or how a tree is embedded into the wall from both sides! Everything is absolutely delightful for anyone who loves builds with a high level of detail.


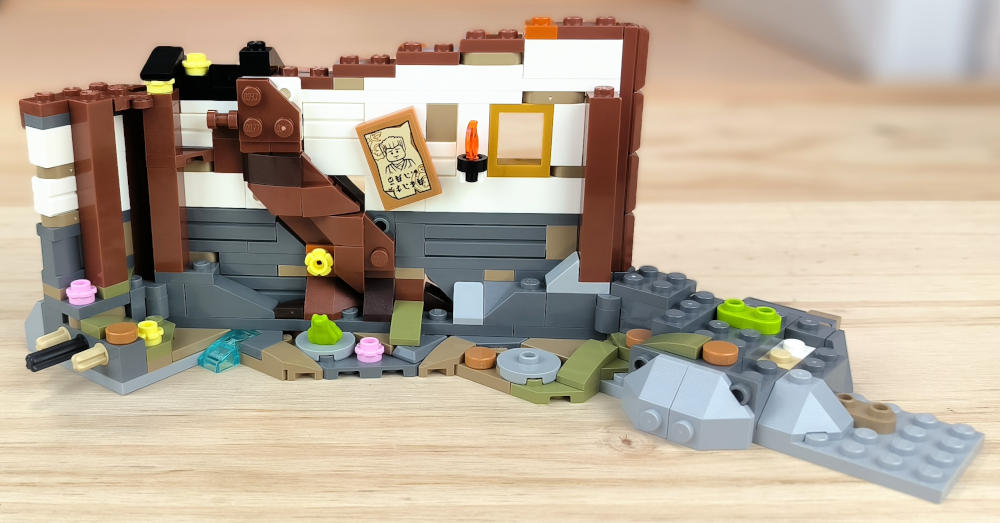

Here comes the ultimate villain, Garmadon. From this point on we will build the torii or paifang — essentially a gateway typical of Asian culture in general. The wall will also continue to gain detail, with leaves and other elements.


Nya enters the scene. Here we finish the gateway, which uses a straightforward technique, although perhaps the most interesting part is the columns — that’s one of the key highlights. Of course, the roof is outstanding; I’m completely smitten with it. Here you can see how the inverted reddish-brown brick fits perfectly with the main structure. The black frogs — what a detail!

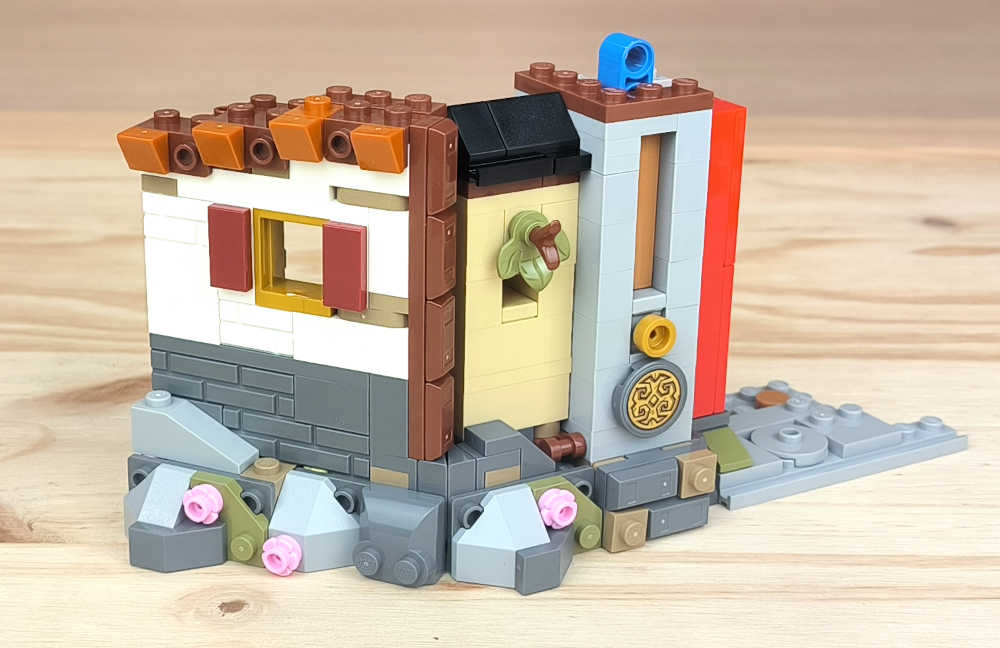

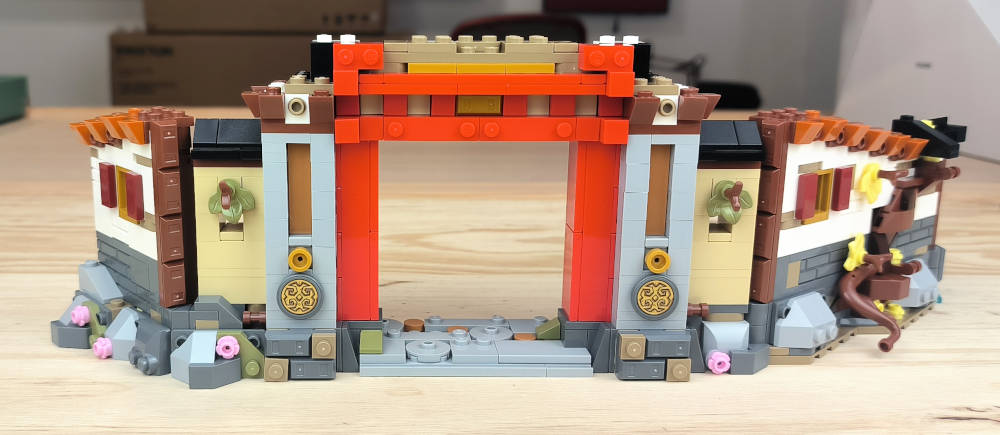
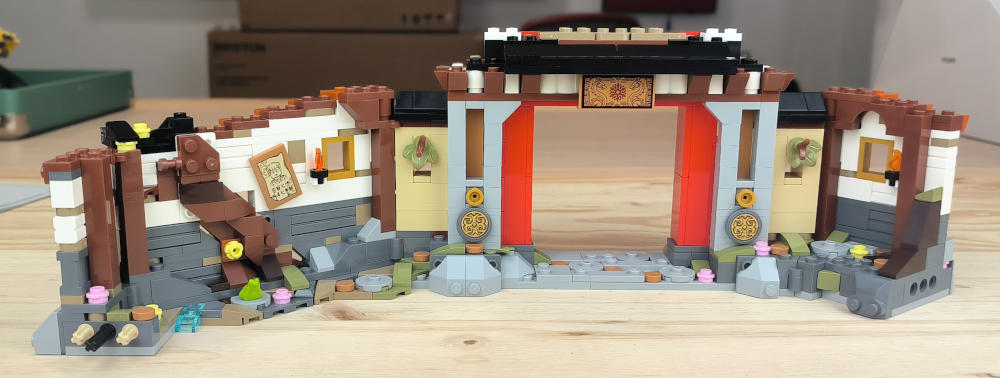

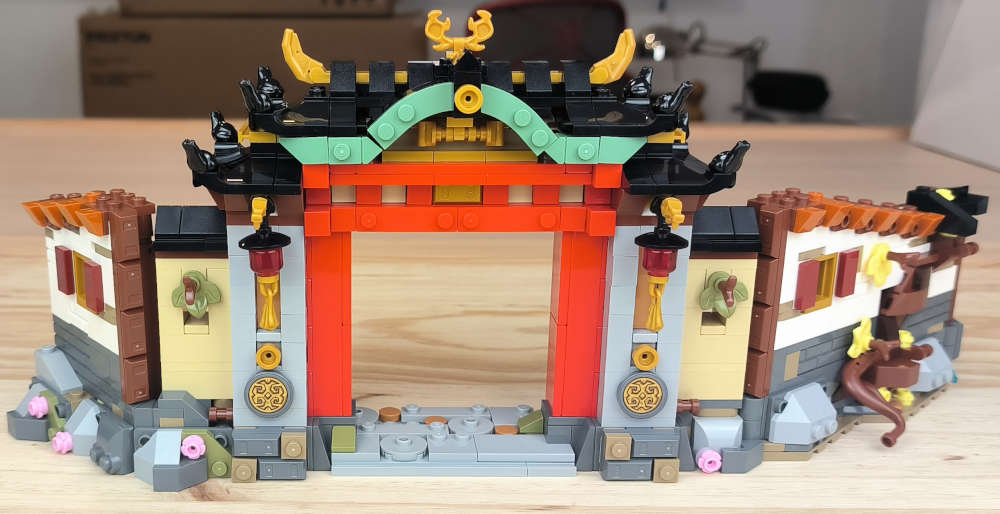
Here comes Jay! What a flying model he brings with him. The use and recreation of these wings is very interesting. After that, a secret compartment is created beneath the roof to hide very important — and secret — things, of course ^^. A few plants on the outside, and this section turns out wonderfully.


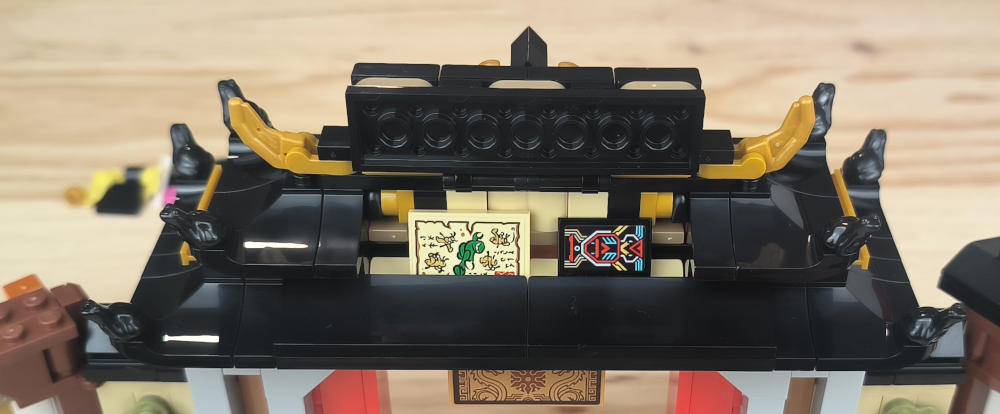

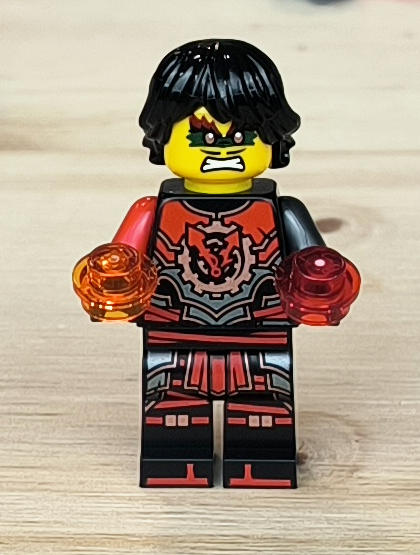
Here comes the young Acronix, looking a little angry… This is where another section of the wall begins. A very simple mechanism is added, based on an L-shaped plate connected to the statue you can see in the image, along with a 1x1 round tile in nougat. In this way, when you push the statue inwards, the tile will push whatever is built into that cavity. We’ll see, but it certainly promises a lot! The little roof over the statue is exquisite.

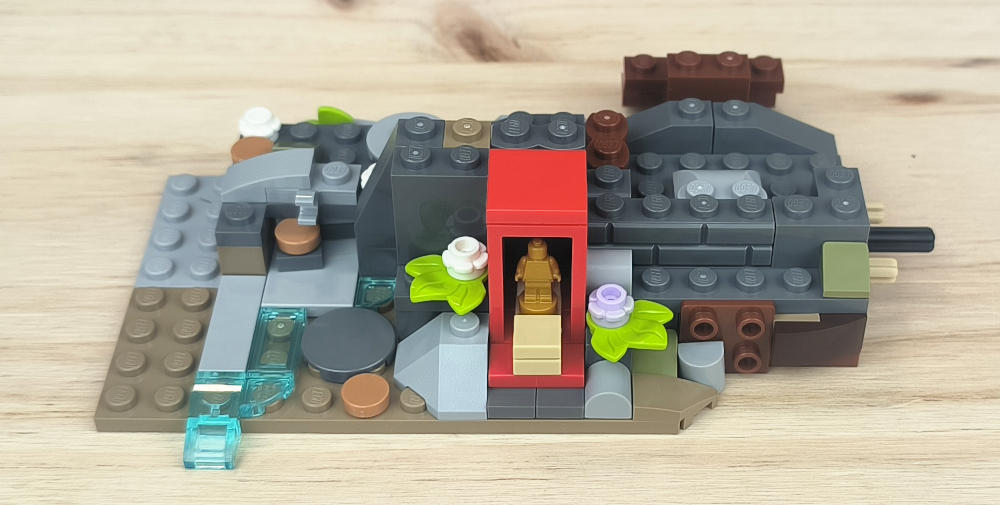

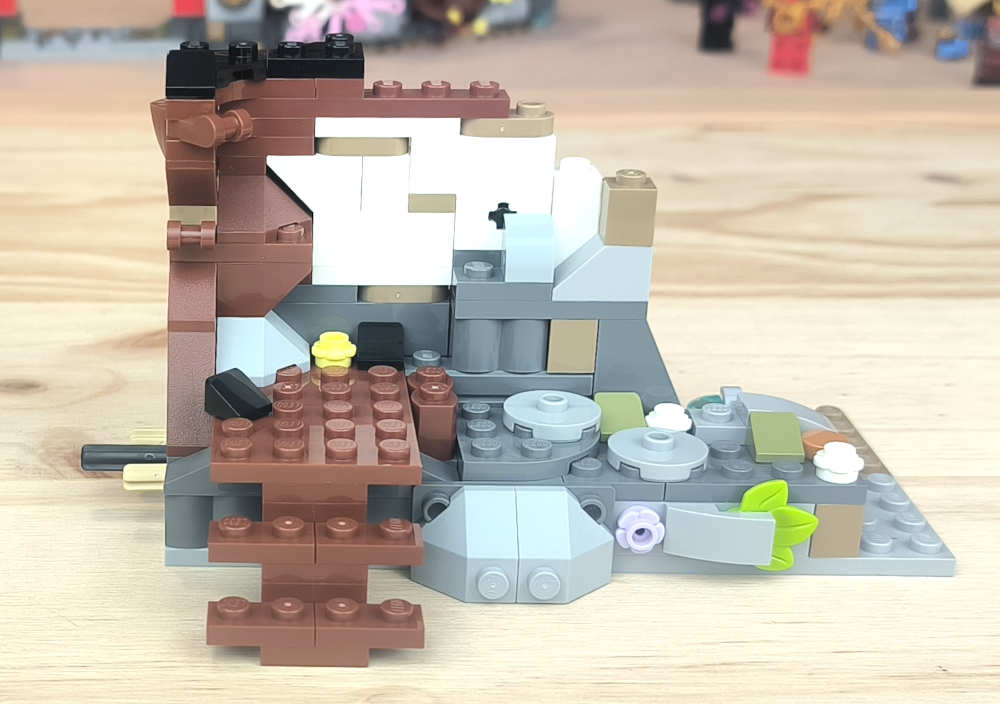

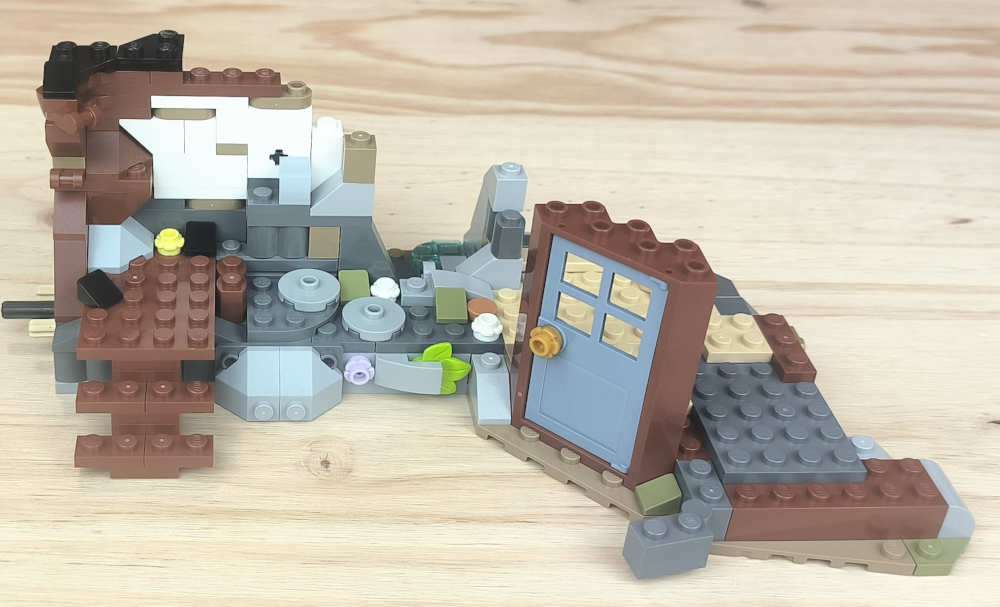

Checking whether the wall collapses… and it works perfectly!

Now it’s the postman’s turn. Oh friends, here we find a couple more true construction gems! There are some lovely little details, but without a doubt my favourite is the telephone — oh, what a beautiful telephone! The best thing about this section is that it’s fully playable: the external wall folds open.




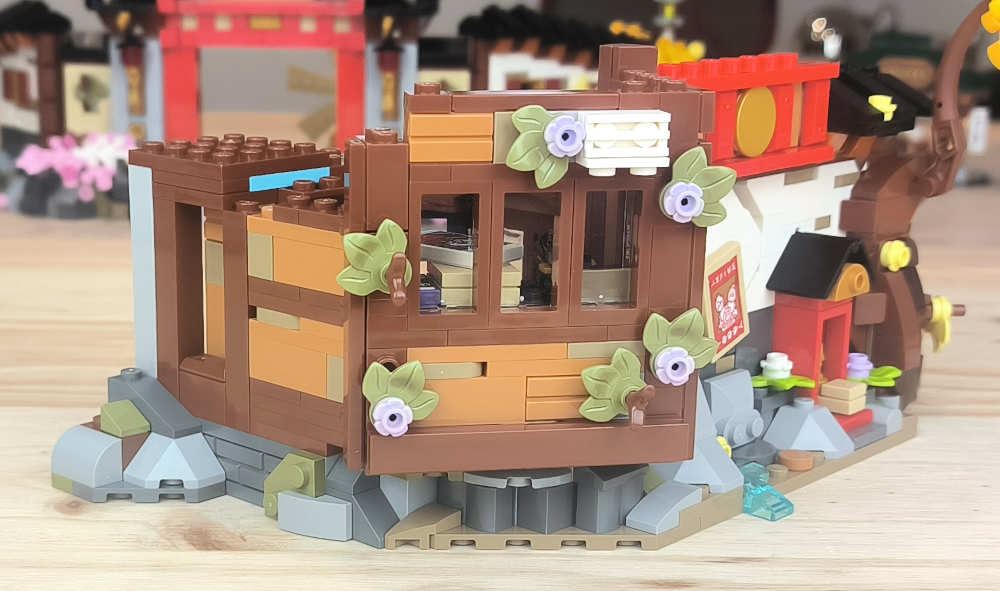

An administrative agent wearing a trench coat that gives her a secret-agent vibe… Here we continue expanding with a good number of details, some of them excellent, such as the hinged connection and how the upper layers are built from it. I absolutely love this construction engineering.

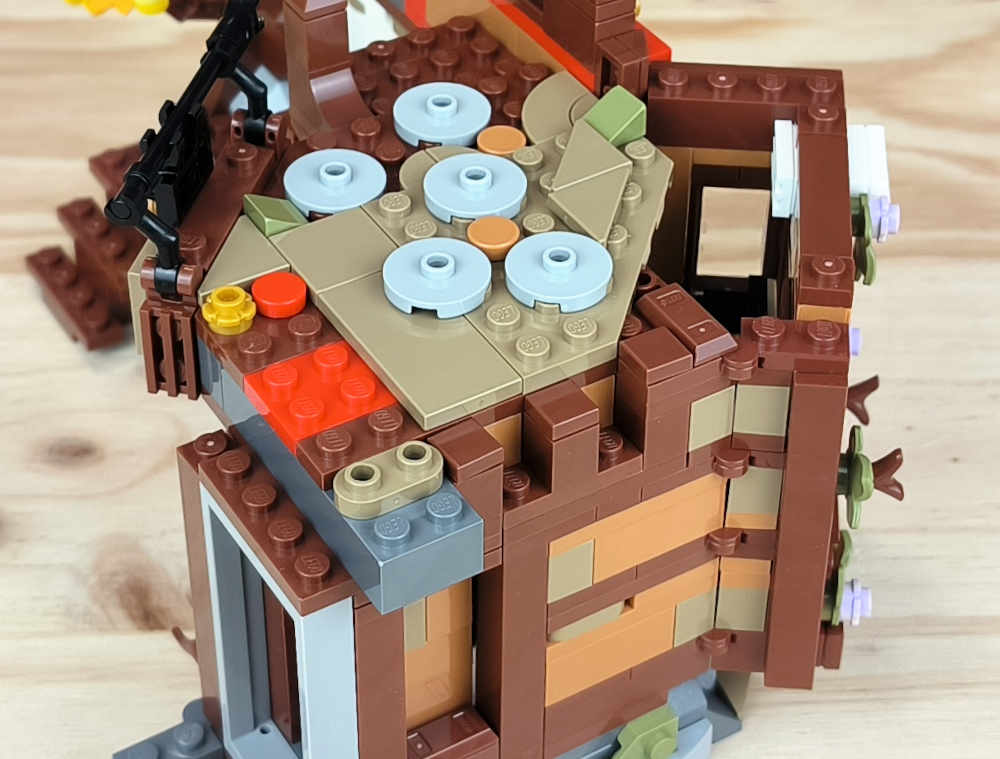
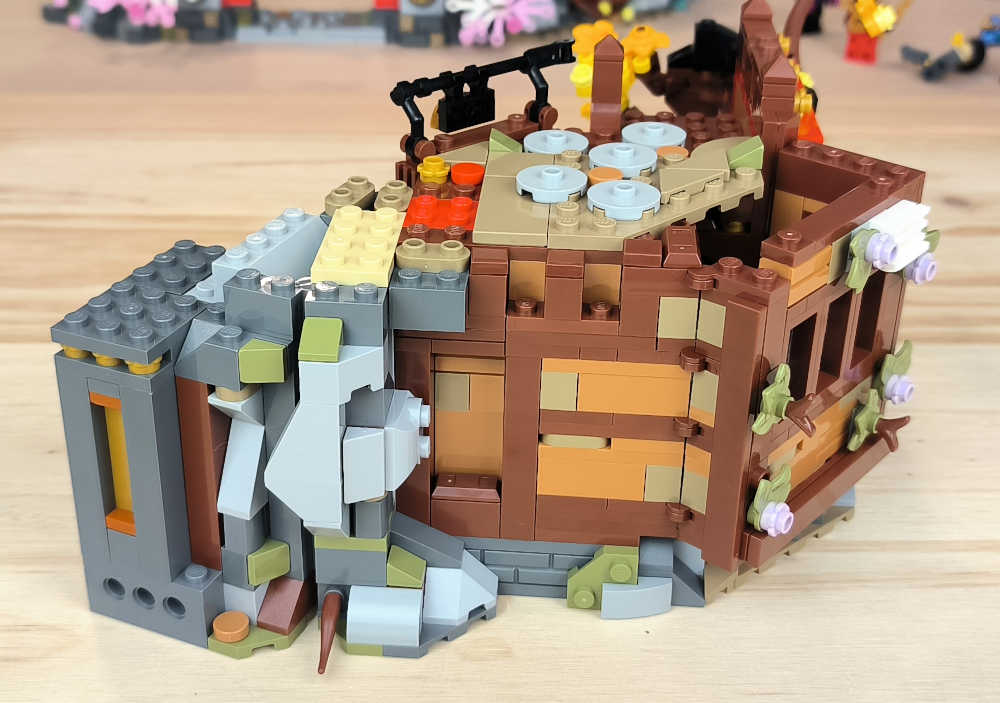


Here comes Faith, with a very cyberpunk style — I love these dystopian figures. In this section there are details that are not as simple as they first appear. For example, did you notice this plate on top of the turntable? Simple, very effective, and often far from trivial. This is where what appears to be a small machine room is installed, superbly themed — even with a mobile crane above it!
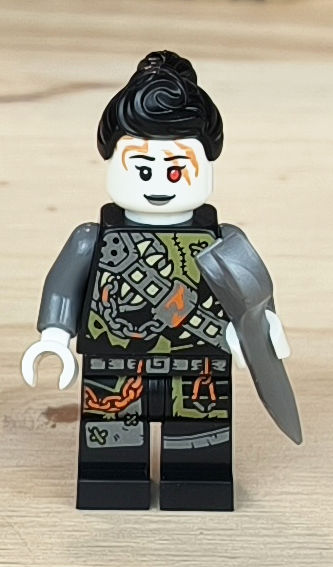

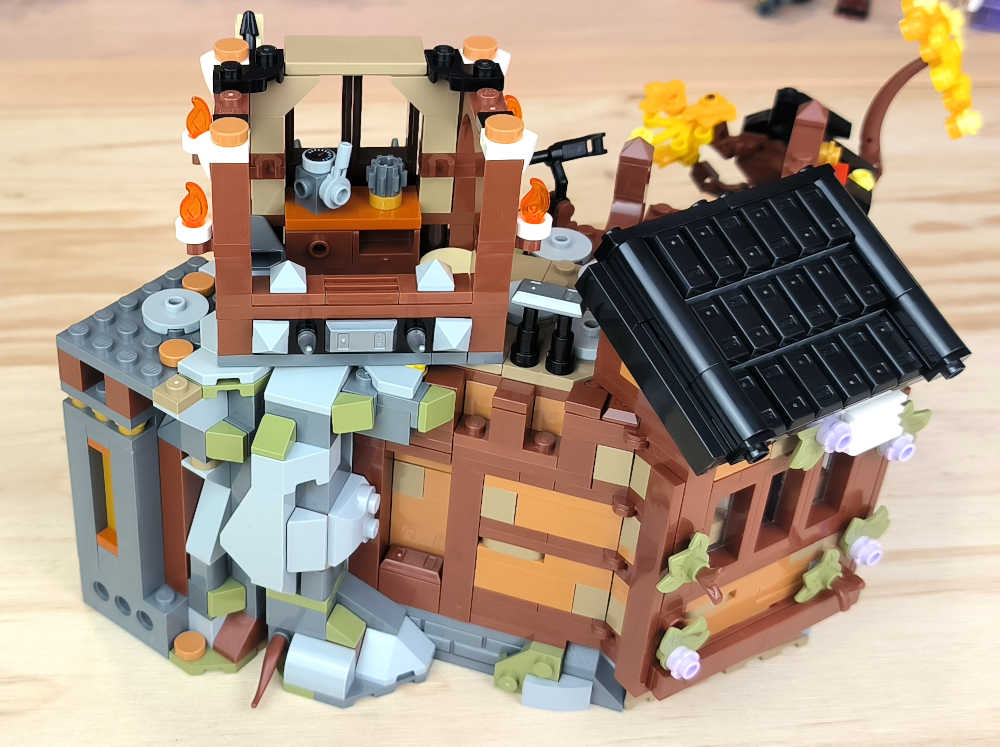


Here comes another young character called Krux, and no, he doesn’t look particularly friendly. In this new section we return to detailing the entire lower rock area, where we can enjoy great features such as the water or the base that will support the upper building. These things make me feel so, so good…

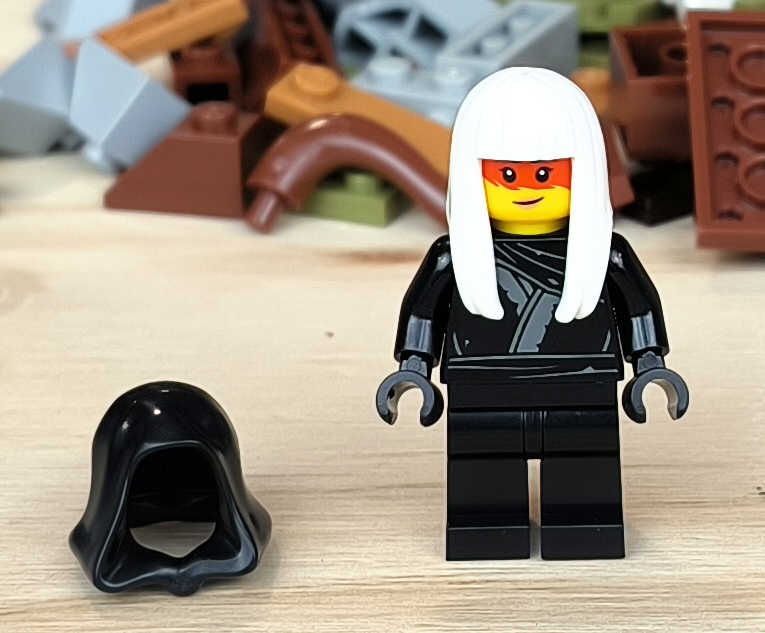
Now it’s Harumi’s turn. What a great mask she wears! Her more human version is beautiful as well — that white hair is fantastic. Here we build that charming, peaceful balcony, perfect for reading, studying and also for keeping watch! Details such as the telescope, the crossbow, the candle and the scrolls are all present.


It’s Lloyd’s turn, the loyal leader in his impressive outfit — wow! In this section we begin the final part of the set, which is by no means small. The best is still to come! Here a new entrance to the old city starts to take shape; there’s not much to say here. A relaxed and straightforward build.


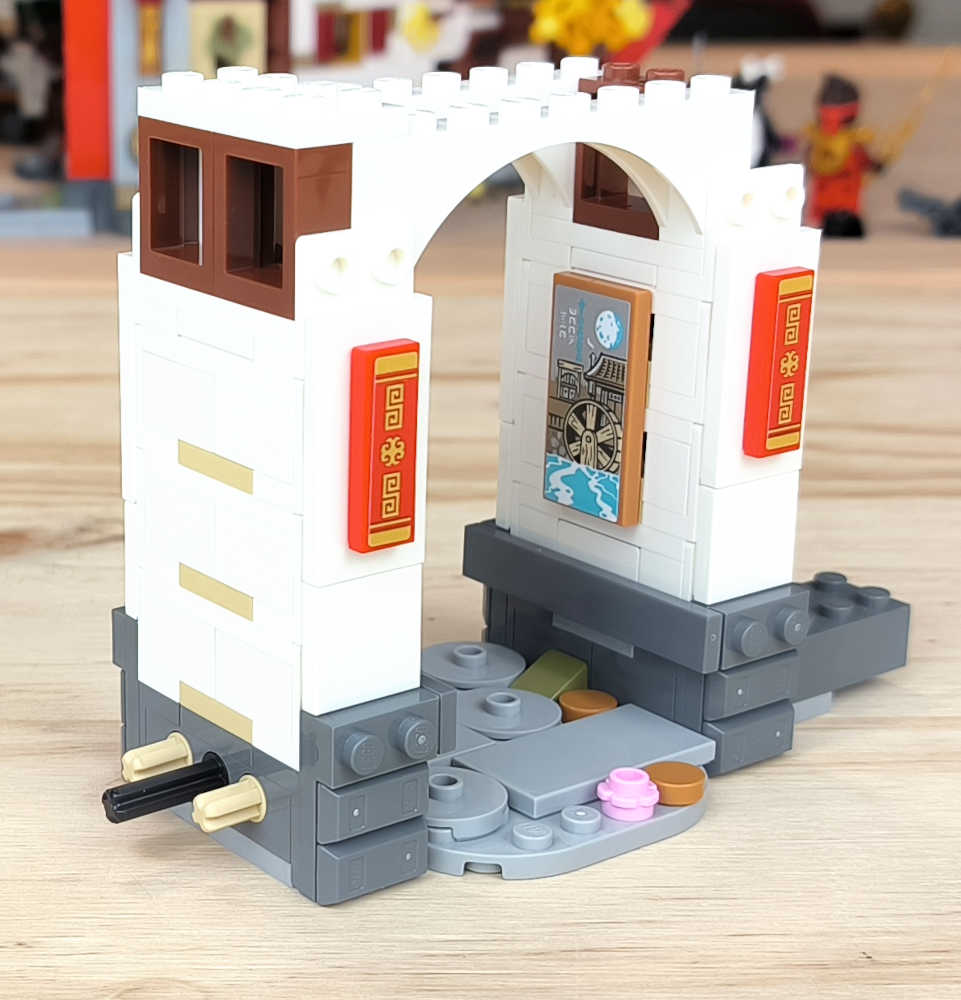
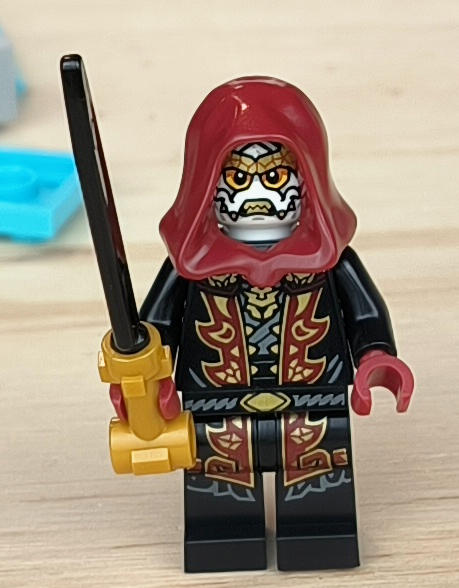
The second loyal character appears, and this figure is no less beautiful than the leader’s, wouldn’t you agree? Here we continue extending the base of the build with some very nice details. For example, the hidden cave, the small waterfall fed by the upper pond, or the tree base perfectly embedded among the rocks… this section is perfect. Highly detailed and, best of all, very playable, as all its parts are movable: the cave wall, the cave entrance, and even the roof can be removed! You’ll see it clearly in the following images.
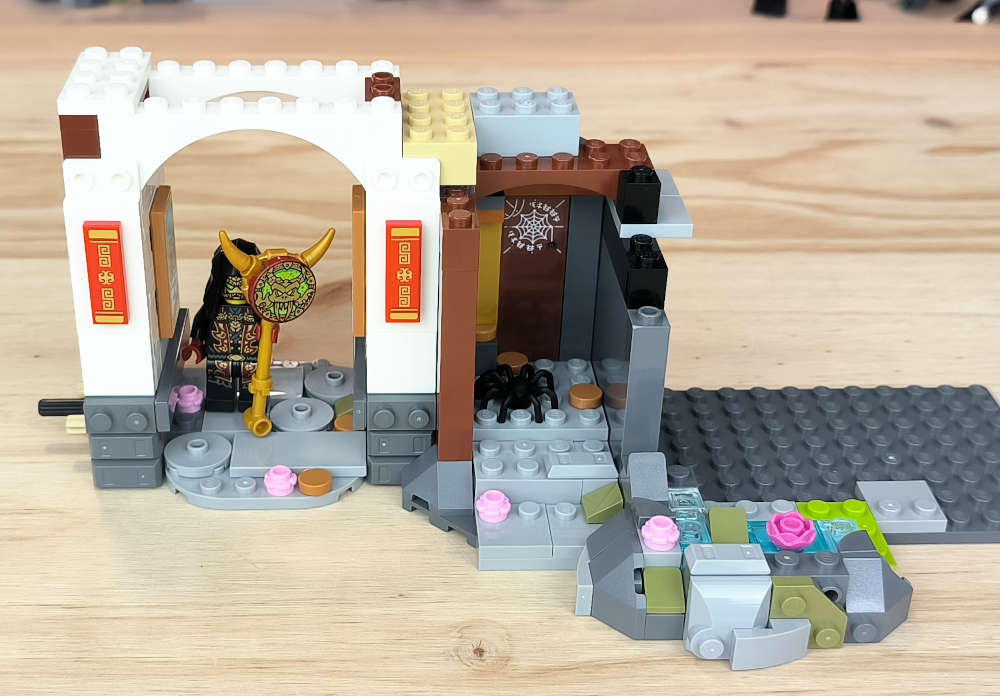
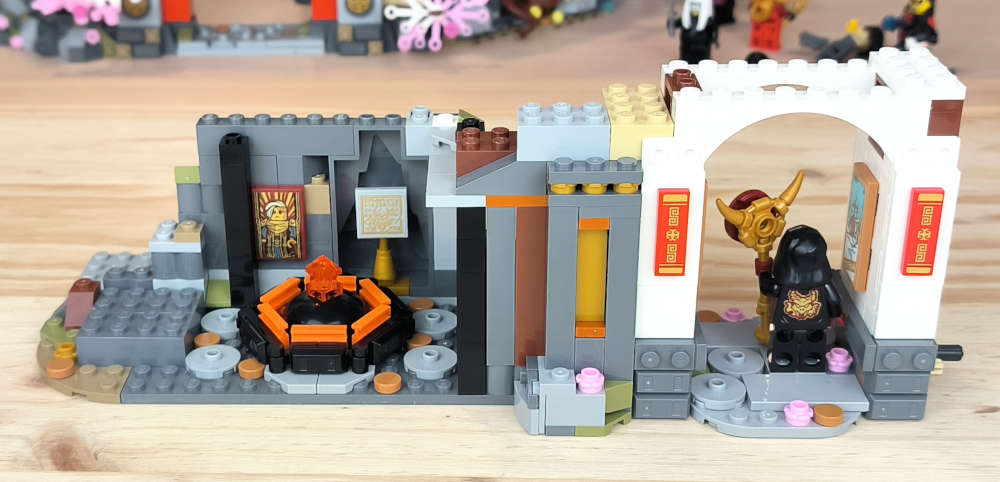


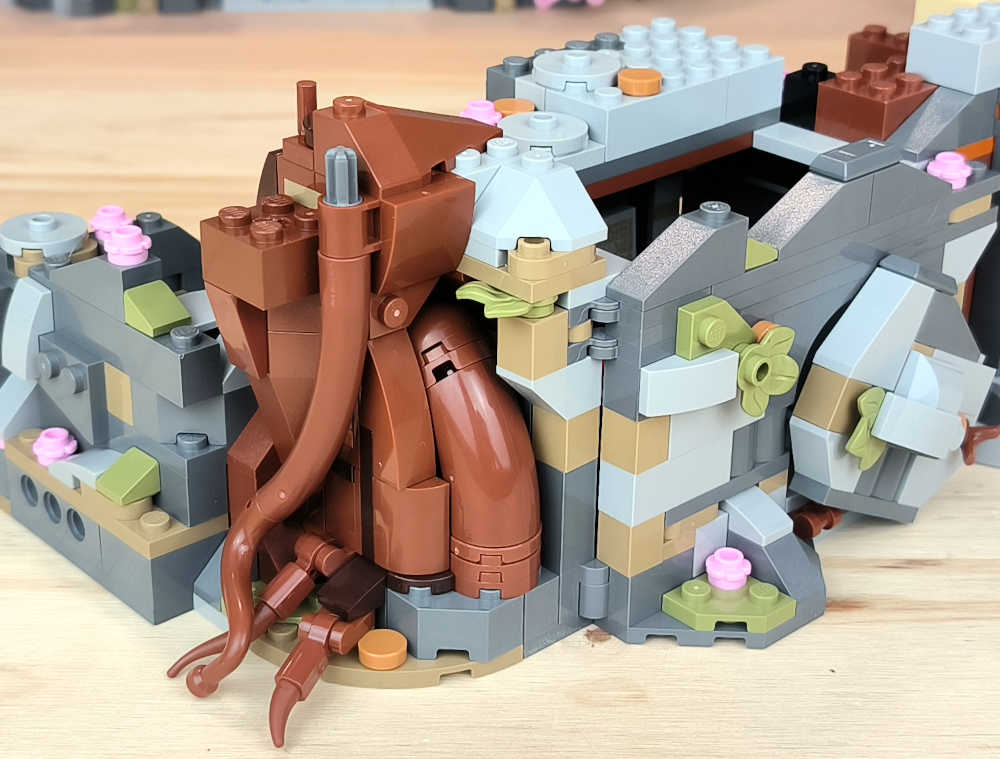
A closer look at the technique used to break up the square lines between the room modules. You can see a plate and a corner plate and how they connect. That’s all there is to it — but it’s not quite so trivial when you see it fully assembled.
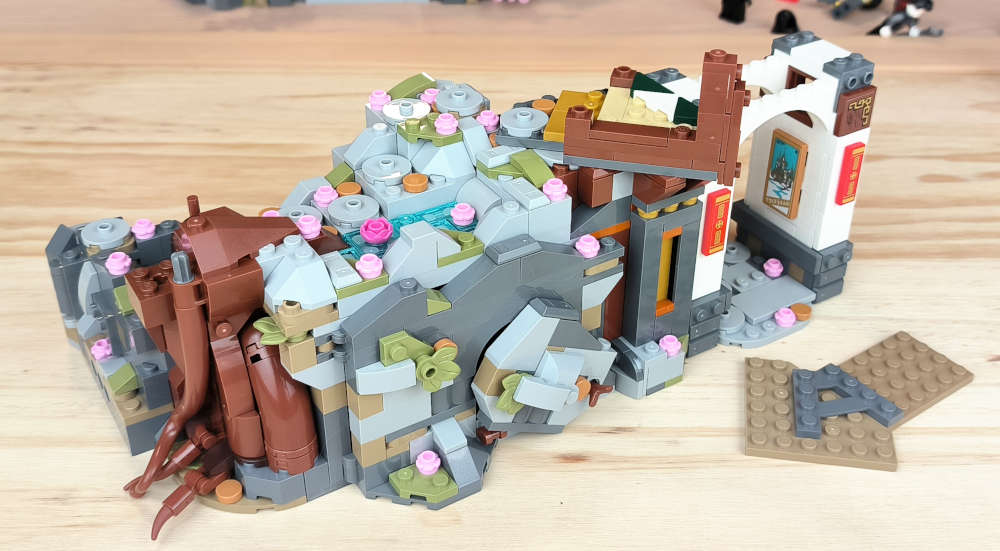
Here comes Dr Saunders, very well characterised. He looks like the archetypal oriental herbalist in his apothecary, doesn’t he? The interior of the room is sober, but it includes some very curious techniques, such as the slopes on the wall. They create a subtle inverted tilt that is both unusual and suggestive. From here on, the upper bookshop is built — very attractive indeed. The technique used to make the removable walls is simple but extremely useful and playable. Without a doubt, this section is very important!


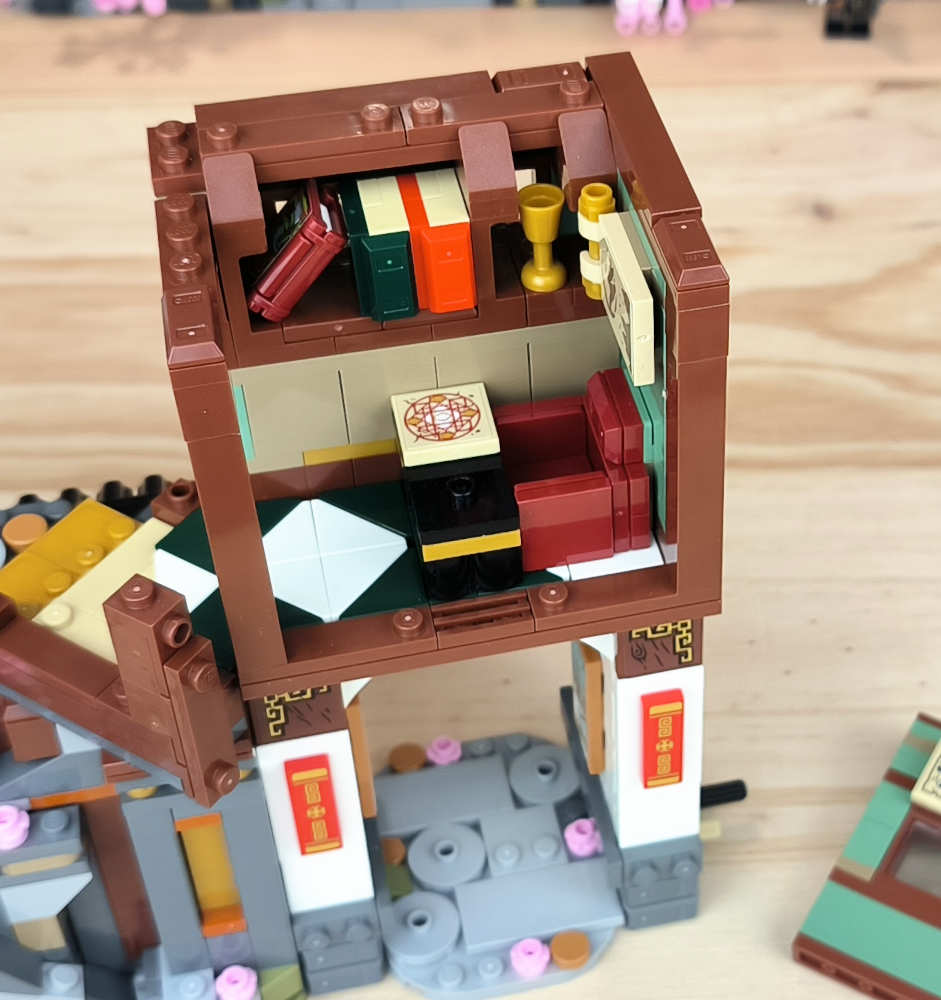
Zane — can anyone tell me that with this face we couldn’t make a Terminator? :O Fantastic! In this small tower you can see the technique used for the black roof. Another one I’m adding to my list, as it’s simple and looks great. You can see the interior decoration, and also the floor, which is hollow to connect both rooms.
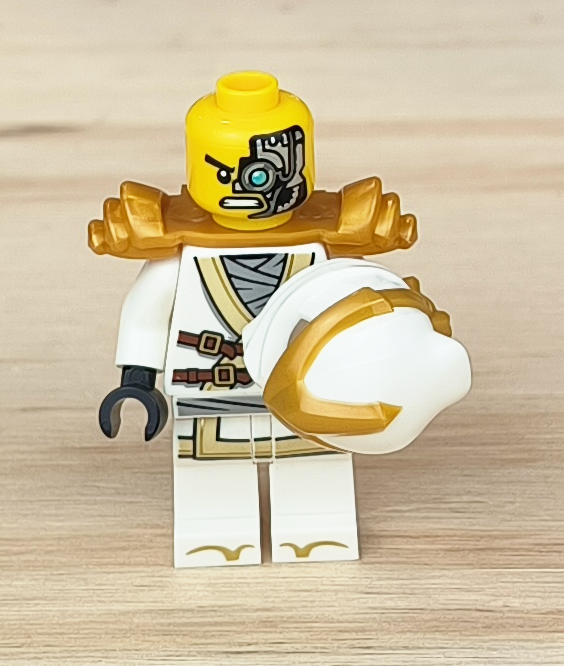


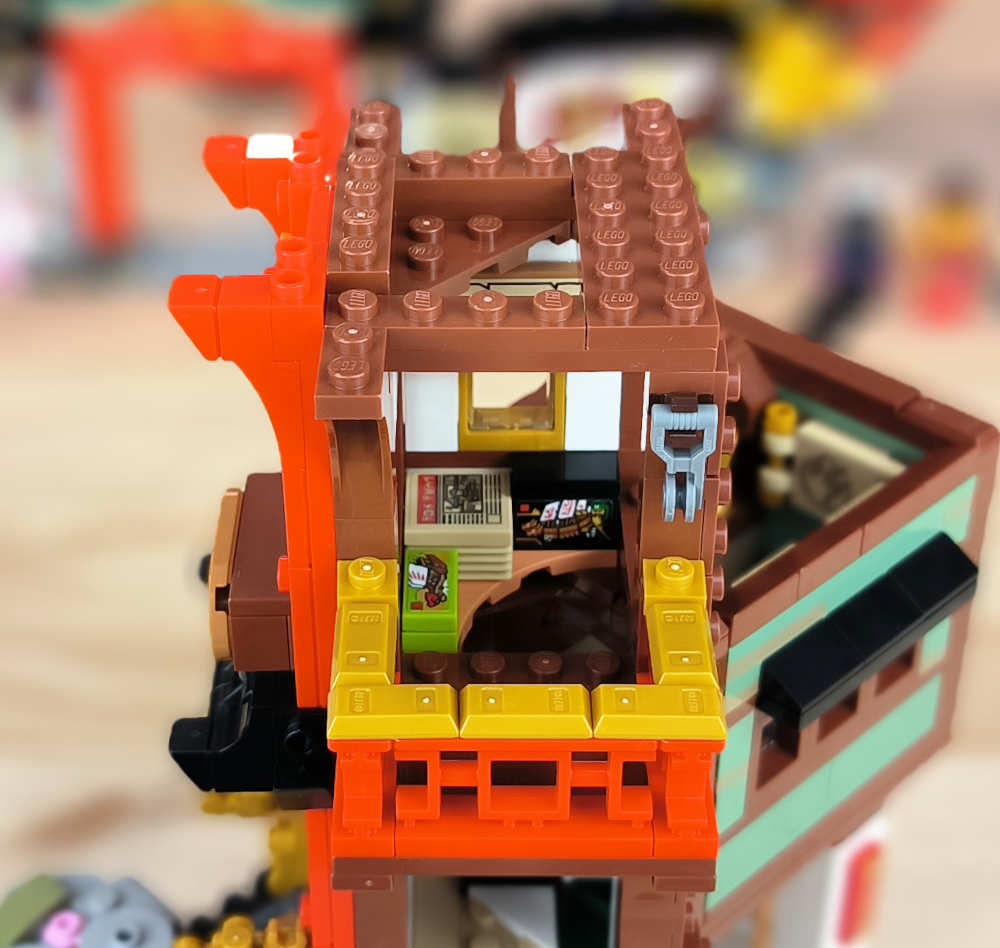
Cole arrives wielding a ninja scythe, ready for anything. In this section, details such as staircases are added, as well as the window panels, which are very easy to insert and remove when playing inside the rooms.


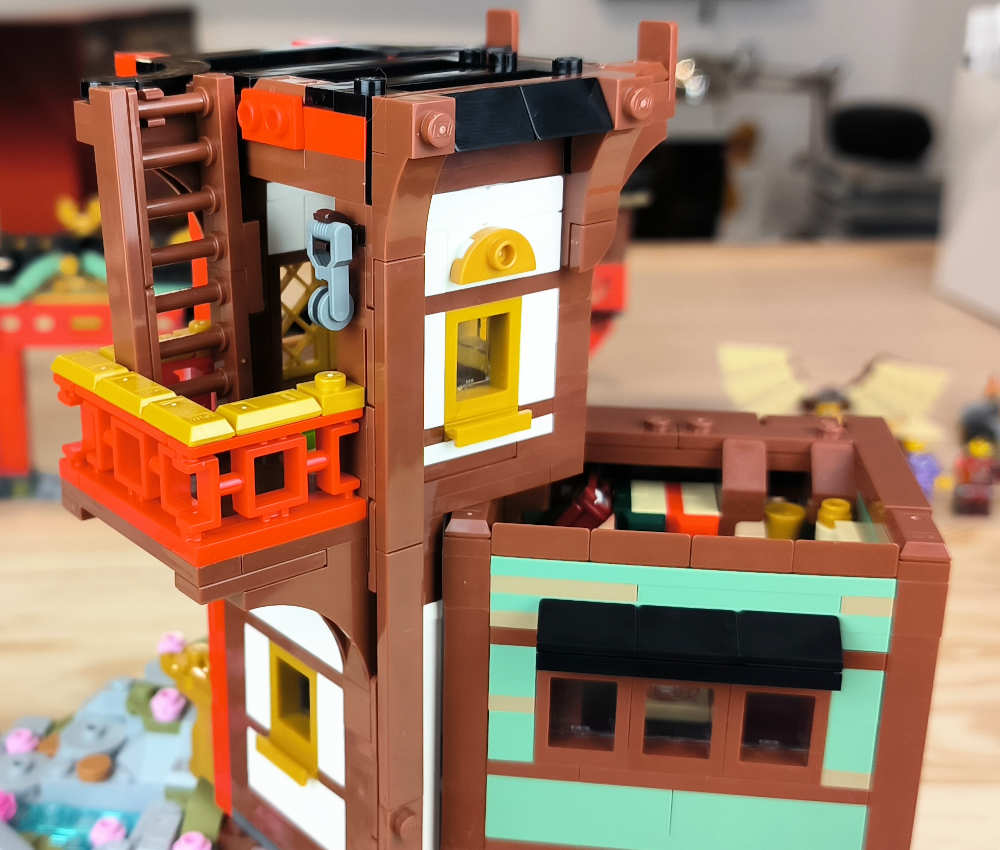
And here comes the crowning moment of the set in the form of the roof. Without a doubt, if the building journey has been full of both small and large details, this is where the finale elevates it even further. The internal roof technique uses the classic hinges, but the fit is so precise that the result is striking. Moreover, the extreme difficulty of fitting the roof onto the tower turns it into a real exercise in ingenuity.
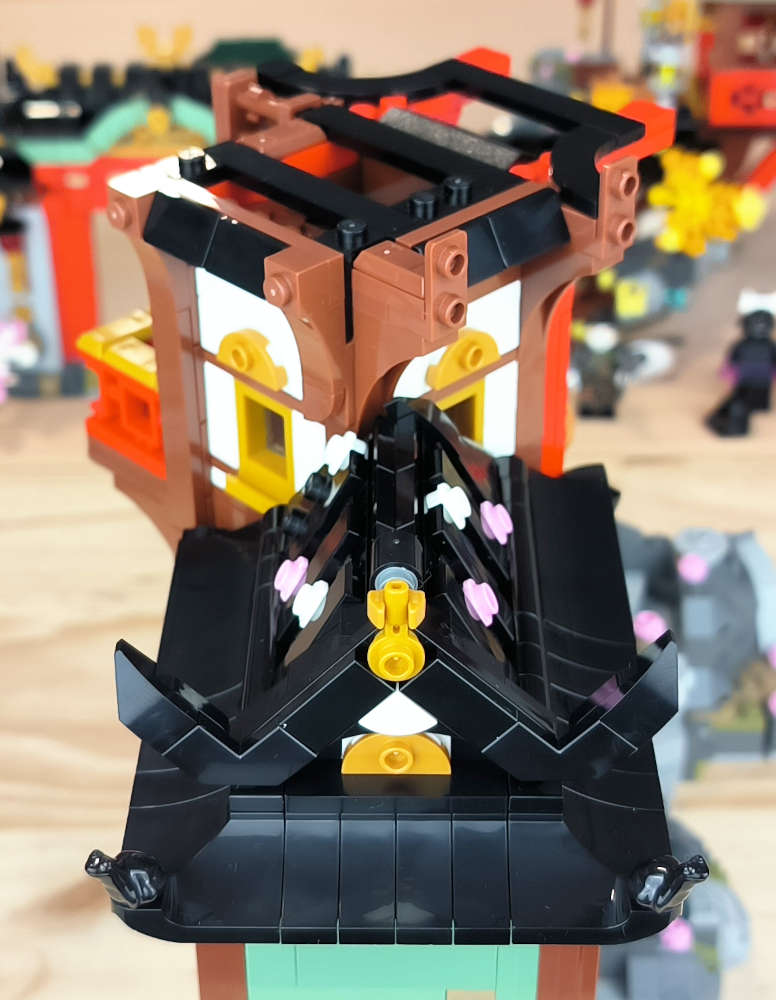
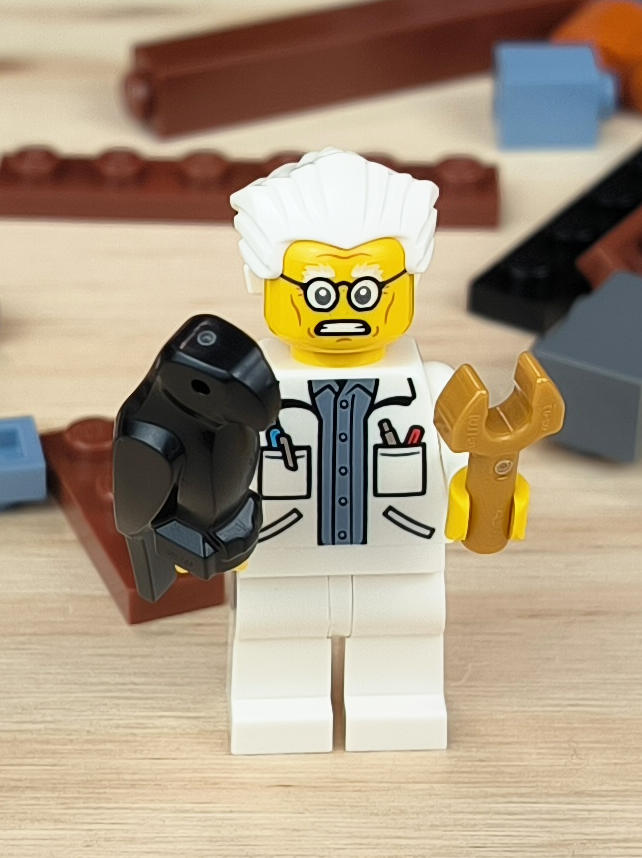
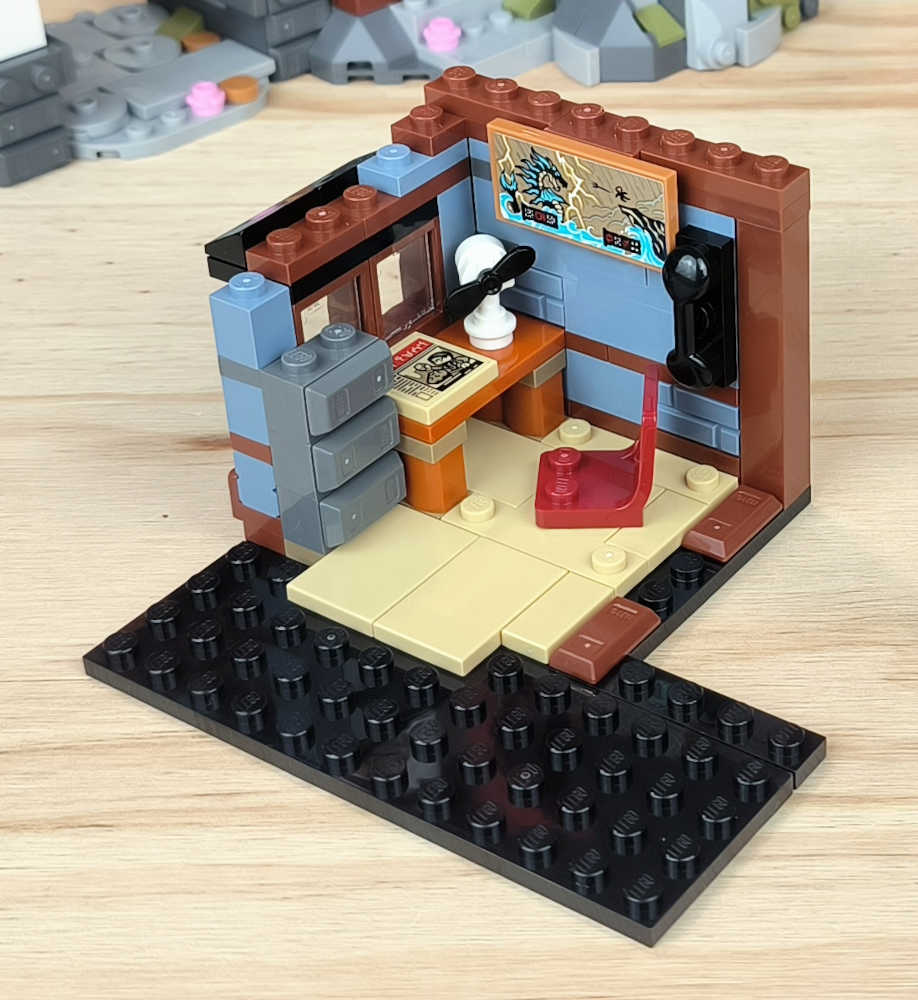
Dr Julien enters the scene, complete with a black parrot! In this section, the new upper room is built, featuring a very charming balcony. It includes some beautiful details, such as the small fan. Isn’t it fantastic?
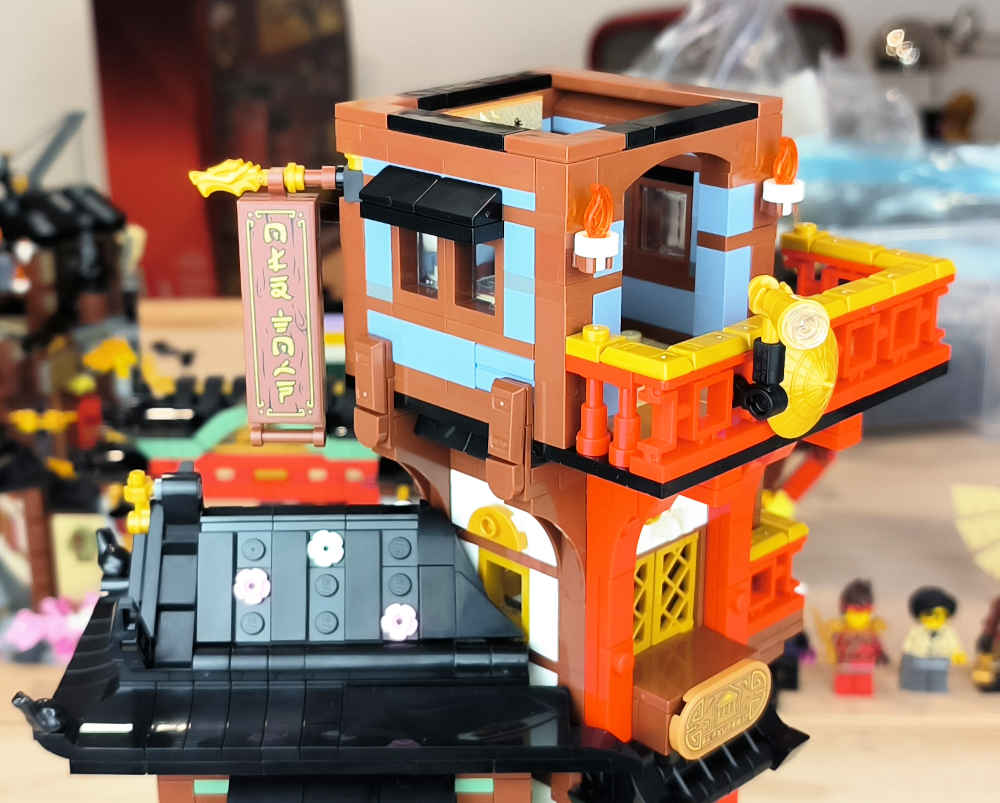
And finally, the finishing touch with another roof like the previous one — but this time, it is complete.

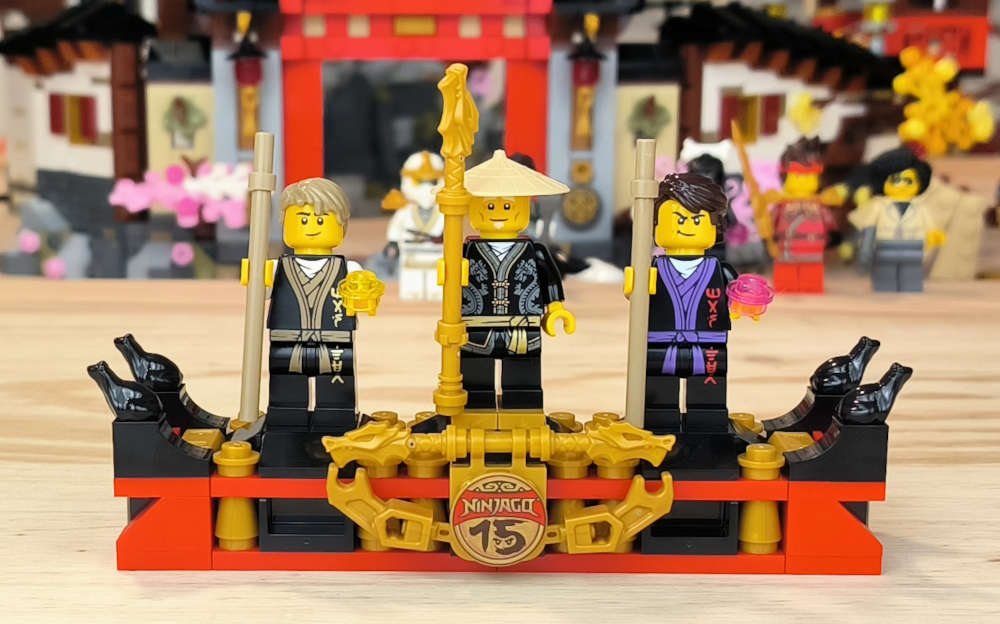
Once the build is complete, the instruction manual shows several ways of assembling the set. I personally prefer the circular layout — it’s so beautiful! Of course, the final minifigures are the most special ones, as talking about young Wu, young Garmadon, or the first Spinjitzu Master is no small matter… This set is undoubtedly a magnificent one, thanks to the techniques used, the sheer number of details, the quantity of minifigures, the variety of parts, and the enormous playability it offers. Perhaps the only less positive aspect is the huge number of stickers we have come to expect from large sets in this LEGO line. That doesn’t detract from its value in the slightest, but it can add a touch of frustration if you’re not very good at applying stickers. Other than that, it’s a truly outstanding set. There are no more words, Your Honour.

We would like to thank the LEGO Group for providing the set for this review, although LEGO neither endorses nor supports the opinions expressed here, as they are solely our own.
33683